შესავალი
This manual provides essential instructions for the safe installation, operation, and maintenance of the Hubbell 7051-G 15A, 125V-AC, 2-Pole, 3-Wire Receptacle. Please read this manual thoroughly before installation and retain it for future reference. Proper installation by a qualified electrician is recommended.
უსაფრთხოების ინფორმაცია
გაფრთხილება: Risk of electric shock or fire. Improper installation can result in serious injury or death. Always turn off power at the circuit breaker or fuse box before installing or servicing this device. Use only copper wire with this device. Do not use with aluminum wire unless specifically rated for it. Ensure all connections are tight and secure.
- ელექტრო წრედებზე მუშაობის დაწყებამდე ყოველთვის გამორთეთ ელექტროენერგია.
- თუ ინსტალაციის პროცესის რომელიმე ნაწილთან დაკავშირებით არ ხართ დარწმუნებული, მიმართეთ კვალიფიციურ ელექტრიკოსს.
- დაიცავით ყველა ადგილობრივი და ეროვნული ელექტრო კოდი.
- არ გადააჭარბოთ მოწყობილობის მითითებულ ელექტრო რეიტინგებს.
პროდუქტი დასრულდაview
The Hubbell 7051-G is a 15 Amp, 125 Volt, 2-pole, 3-wire grounding duplex receptacle designed for general-purpose electrical applications. It features a durable nylon construction and is suitable for various residential and commercial installations.

სურათი: წინა მხარე view of the Hubbell 7051-G duplex receptacle, showing two outlets with grounding slots.
დაყენება და ინსტალაცია
საჭირო ინსტრუმენტები: Screwdriver (Phillips and/or flathead), Wire Strippers, Voltage ტესტერი.
- გამორთეთ ელექტროენერგია: Locate the circuit breaker or fuse that controls the outlet you are working on and turn it off. Verify power is off using a voltage ტესტერი.
- ამოიღეთ ძველი შტეფსელი (ასეთის არსებობის შემთხვევაში): Unscrew the wall plate and then the mounting screws holding the old receptacle in the electrical box. Carefully pull the receptacle out and disconnect the wires.
- მავთულის მომზადება: Strip approximately 1/2 inch of insulation from the ends of the circuit wires. Ensure the wire ends are clean and straight.
- მავთულის დაკავშირება:
- Green or Bare Copper Wire (Ground): შეაერთეთ მწვანე დამიწების ხრახნთან.
- White Wire (Neutral): Connect to the silver screw.
- Black or Red Wire (Hot/Live): Connect to the brass screw.
- დაამონტაჟეთ რეზერვუარი: Carefully push the wired receptacle back into the electrical box. Secure it with the provided mounting screws.
- კედლის ფირფიტის დაყენება: დენის წყაროზე მიამაგრეთ დეკორატიული კედლის ფირფიტა.
- ენერგიის აღდგენა: Turn the power back on at the circuit breaker or fuse box. Test the receptacle with a known working device.

სურათი: გვერდი view of the Hubbell 7051-G receptacle, showing the strip gauge for proper wire preparation.

სურათი: უკანა მხარე view of the Hubbell 7051-G receptacle, illustrating the screw terminals for wiring connections (brass for hot, silver for neutral, green for ground).

Image: Close-up of the rear of the Hubbell 7051-G receptacle, detailing the wire strip gauge and voltage ratings (15A, 125V and 10A, 250V).
ოპერაციული ინსტრუქციები
To operate the Hubbell 7051-G receptacle, simply insert the plug of your electrical device into one of the two available outlets. Ensure the plug is fully inserted. The receptacle is designed for standard 2-prong or 3-prong grounded plugs.

სურათი: წინა მხარე view of the Hubbell 7051-G receptacle, ready for device plugs.
მოვლა
The Hubbell 7051-G receptacle requires minimal maintenance. Periodically inspect the receptacle and wall plate for any signs of damage, cracks, or discoloration. If any damage is observed, turn off power at the circuit breaker and replace the receptacle immediately. Clean the surface with a soft, dry cloth. Do not use abrasive cleaners or solvents.
პრობლემების მოგვარება
- No Power at Receptacle:
- Check the circuit breaker or fuse for the circuit. Reset the breaker or replace the fuse if tripped/blown.
- Ensure all wire connections are secure. Turn off power before checking connections.
- გამოცადეთ კონტეინერი ტომითtage tester to confirm power presence.
- Loose Plug Connection:
- If plugs do not stay firmly in the receptacle, the internal contacts may be worn. The receptacle should be replaced by a qualified electrician.
- გადახურება:
- If the receptacle feels warm to the touch, immediately disconnect all devices and turn off power. This could indicate an overload or a faulty connection. Consult a qualified electrician.
სპეციფიკაციები
| ბრენდი | ჰაბელი |
| მოდელი | 7051-გ |
| Ampგაბრაზება | 15 Amps |
| ტtage | 125 ვოლტი |
| ბოძები/მავთულები | 2-პოლური, 3-მავთულიანი დამიწება |
| მასალა | ნეილონი |
| პროდუქტის ზომები | 4.25 x 2 x 1.5 ინჩი |
| მწარმოებელი | HUBBELL |
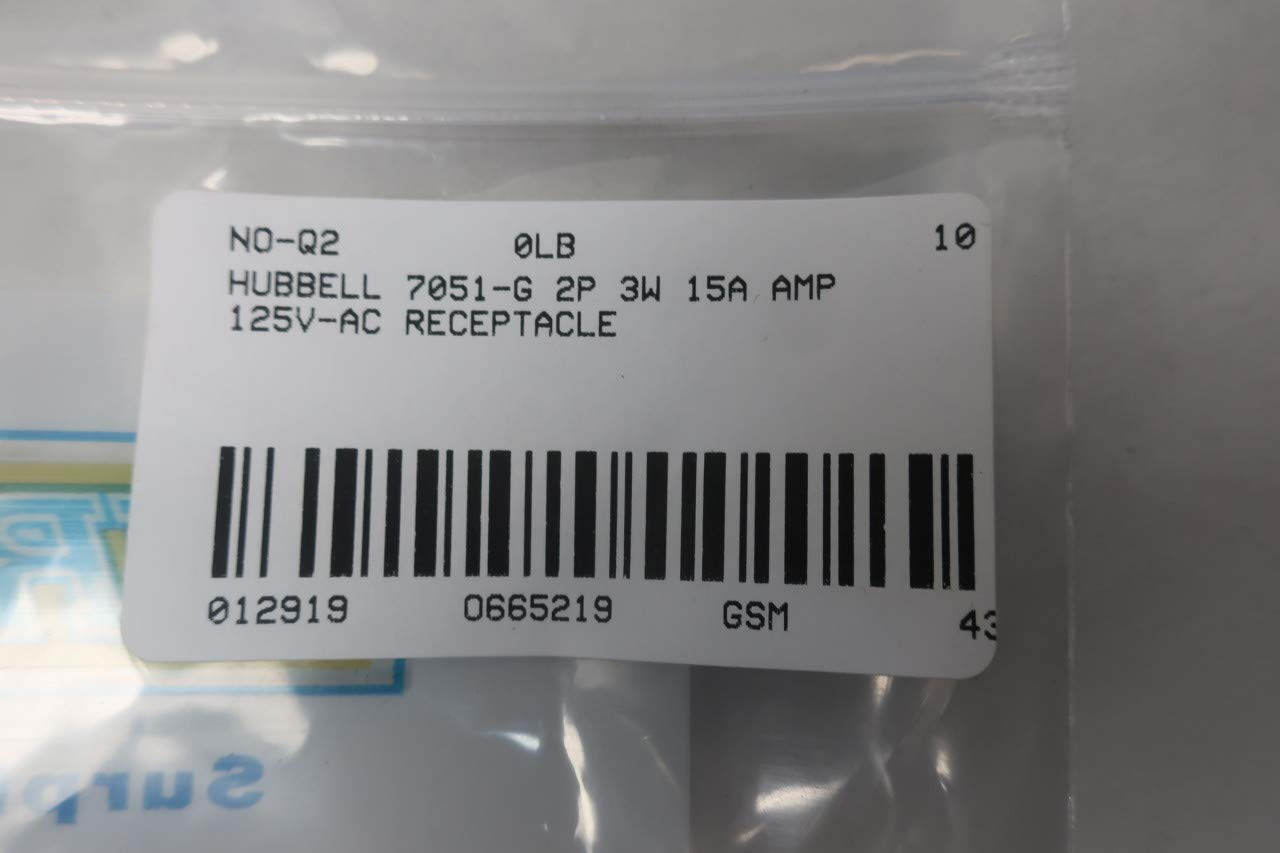
Image: The Hubbell 7051-G receptacle shown in its original product box.

Image: Barcode label for the Hubbell 7051-G 2P 3W 15A 125V-AC Receptacle, showing product identification details including UPC 0129190665219.
გარანტია და მხარდაჭერა
Specific warranty information for the Hubbell 7051-G Receptacle is not provided within this manual. For warranty details or technical support, please contact Hubbell customer service directly or visit their official webსაიტი. შეინახეთ თქვენი შესყიდვის ქვითარი შეძენის დასადასტურებლად.
მწარმოებელი: HUBBELL
Webსაიტი: www.hubbell.com (მაგampბმული, ფაქტობრივი ბმული შეიძლება განსხვავდებოდეს)