
1. შესავალი
This manual provides detailed instructions for the assembly, operation, and maintenance of your Antec NX410 ATX Mid-Tower Case. Please read this manual thoroughly before beginning installation to ensure proper setup and to maximize the performance and longevity of your system.

Figure 1.1: Antec NX410 ATX Mid-Tower Case (Black)
2. ძირითადი მახასიათებლები
- გაფართოებული გაგრილება: Pre-installed with 2 x 140mm ARGB fans in the front and 1 x 120mm ARGB fan in the rear for efficient airflow.
- გამაგრებული მინის გვერდითი პანელი: A full-side view tempered glass panel allows for showcasing internal components and RGB lighting.
- ოპტიმიზებული ჰაერის ნაკადი: Features a grid front panel design to enhance air intake and maintain optimal temperatures.
- დედაპლატის მხარდაჭერა: Compatible with ATX, Micro-ATX, and ITX motherboard form factors.
- Ample Expansion: Supports various storage configurations and large graphics cards (up to 335mm) and CPU coolers (up to 168mm).
3. დაყენება და ინსტალაცია
3.1 საქმის მომზადება
Before installing components, ensure the case is placed on a stable, flat surface. The tempered glass side panel can be easily opened via a magnetic latch for access to the interior.

Figure 3.1: Internal Component Layout and Compatibility
3.2 დედაპლატის ინსტალაცია
The NX410 supports ATX, Micro-ATX, and ITX motherboards. Install standoffs as required by your motherboard's form factor before mounting the motherboard.
3.3 ვენტილატორისა და რადიატორის საყრდენი
The case comes with pre-installed ARGB fans. Additional fans or radiators can be installed as follows:
- წინა: Up to 3 x 120mm or 3 x 140mm fans (up to 360mm radiator).
- ზედა: Up to 2 x 120mm or 2 x 140mm fans (up to 280mm radiator).
- უკანა: 1 x 120mm fan (up to 120mm radiator).
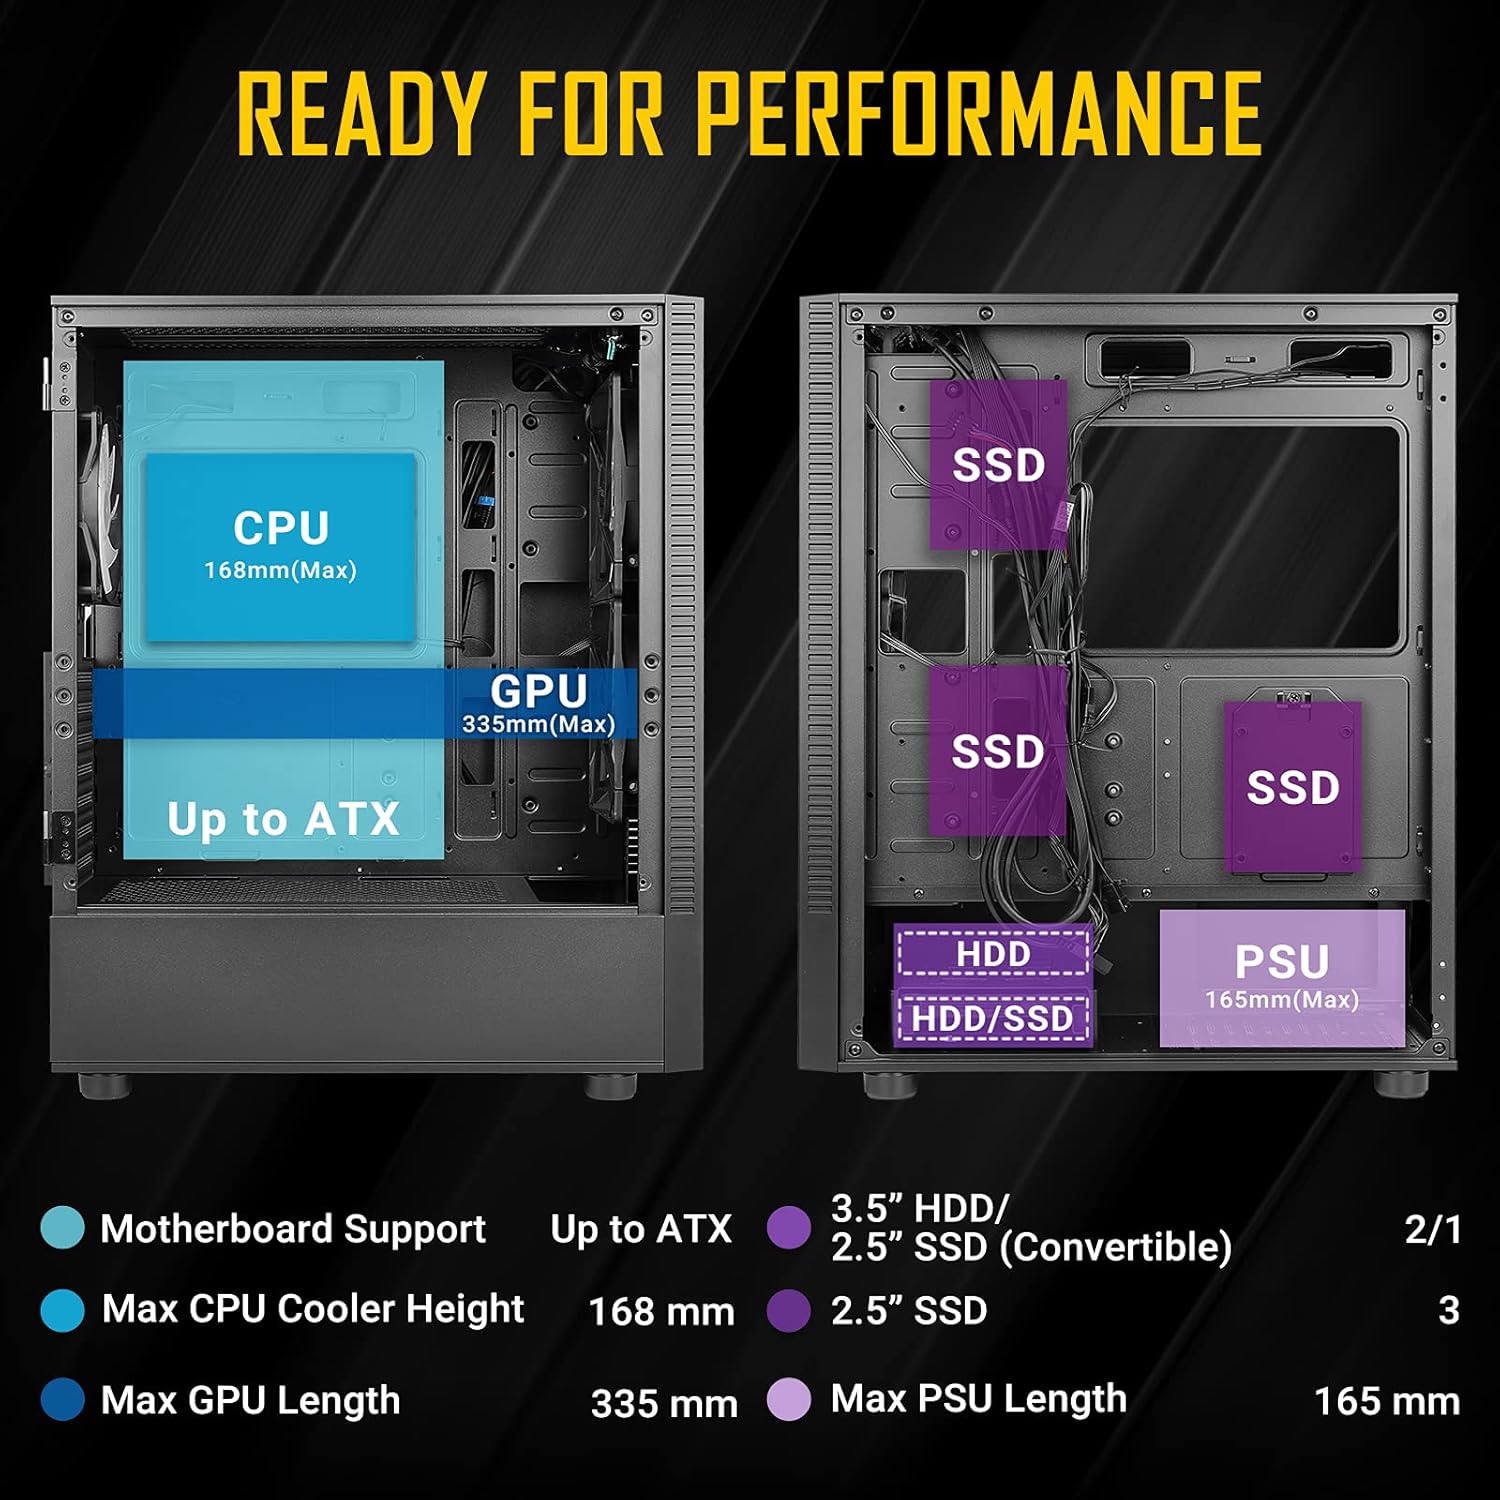
Figure 3.2: Fan and Radiator Configuration
Important Fan Connection Note:
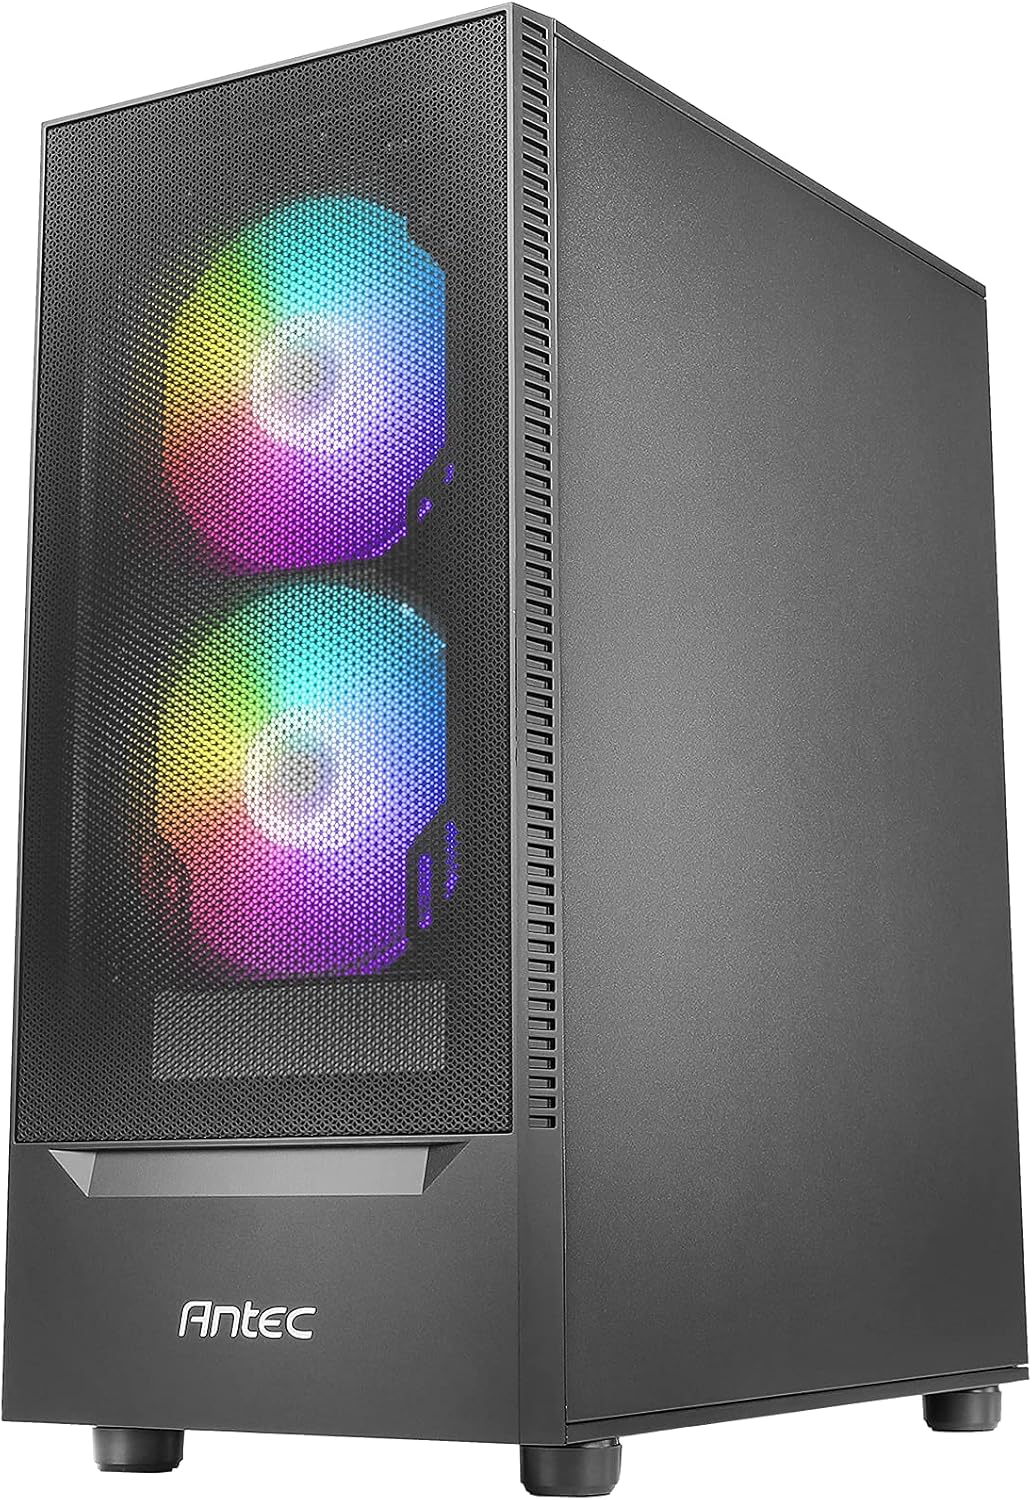
Figure 3.3: Fan Installation Warning
- If you connect the major fan and other fans but do not connect the major fan to the motherboard, other fans will not function.
- The fan kit does not work in sync with the motherboard ARGB function unless properly connected.
3.4 მეხსიერების დისკის ინსტალაცია
The case provides bays for 3.5-inch HDDs and 2.5-inch SSDs. Refer to the internal layout diagram (Figure 3.1) for specific mounting locations.
3.5 ელექტრომომარაგების განყოფილება (PSU) ინსტალაცია
The PSU mounts at the rear bottom of the case. Ensure the PSU length does not exceed 165mm for optimal fit and cable management.
4. Operating the Case Features
4.1 Front Panel I/O Ports
The top front panel provides convenient access to essential ports and controls:
- დენის ღილაკი
- LED კონტროლის ღილაკი
- USB 3.0 x 1
- USB 2.0 x 2
- HD-AUDIO (Headphone and Microphone jacks)

Figure 4.1: Front Panel I/O Ports
4.2 ARGB განათების კონტროლი
Use the dedicated LED Control Button on the front panel to cycle through various ARGB lighting effects and colors for the pre-installed fans. This allows for customization of your system's aesthetic.

Figure 4.2: LED Control Button
5. მოვლა
5.1 მტვრის ფილტრების გაწმენდა
The Antec NX410 features a fine mesh front panel and a magnetic dust filter on the top panel to prevent dust buildup. Regularly remove and clean these filters to maintain optimal airflow and cooling performance.
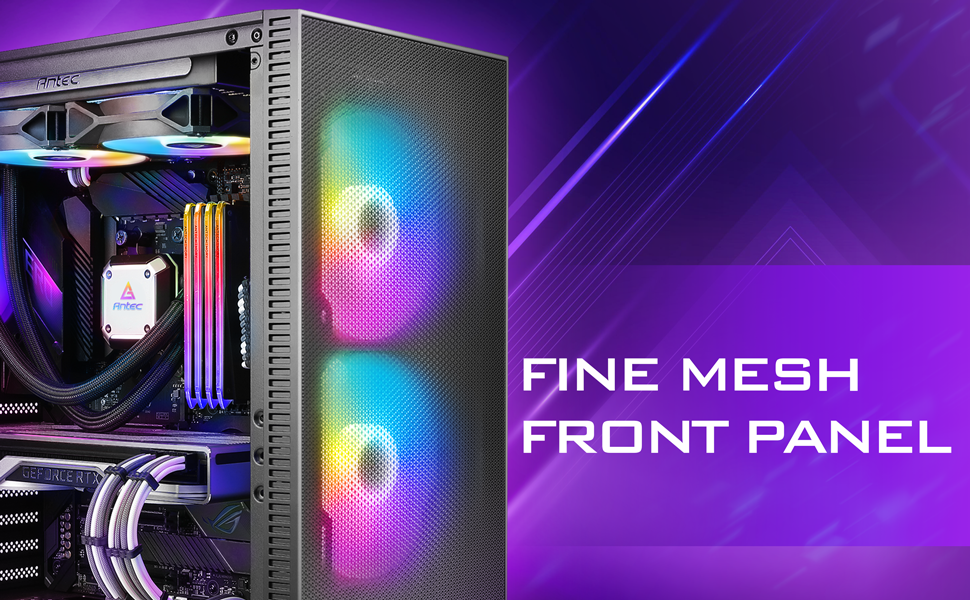
Figure 5.1: Fine Mesh Front Panel
5.2 შიდა კომპონენტებზე წვდომა
The tempered glass side panel is secured with a magnetic latch, allowing for tool-less access to the internal components for upgrades, cleaning, or troubleshooting. Gently pull the handle to open the panel.
6. Დიაგნოსტიკა
- სისტემა არ ირთვება: Ensure all power cables (24-pin ATX, 8-pin CPU, GPU PCIe) are securely connected to the motherboard, graphics card, and power supply. Verify the power supply switch is in the 'ON' position.
- ვენტილატორები არ ბრუნავენ/RGB არ მუშაობს: Check fan connections to the motherboard or fan controller. Ensure the LED control button is pressed to cycle through modes. Refer to Figure 3.3 for proper fan wiring.
- გადახურების პრობლემები: Confirm all case fans are installed correctly and spinning. Clean dust filters regularly. Ensure proper thermal paste application on the CPU cooler.
- USB პორტები არ მუშაობს: Verify the USB headers from the front panel are correctly connected to the motherboard.
7. სპეციფიკაციები
| ფუნქცია | დეტალი |
|---|---|
| ბრენდი | ანტეკ |
| მოდელის სახელი | NX410 |
| საქმის ტიპი | Mid კოშკი |
| დედაპლატის თავსებადობა | ATX, Micro-ATX, ITX |
| ზომები (D x W x H) | 15.35"D x 8.27"W x 19.09"H |
| მასალა | გამაგრებული მინა, ფოლადი |
| წინასწარ დაინსტალირებული ფანები | 2 x 140mm ARGB (Front), 1 x 120mm ARGB (Rear) |
| CPU გამაგრილებლის მაქსიმალური სიმაღლე | 168 მმ |
| მაქსიმალური GPU სიგრძე | 335 მმ |
| მაქსიმალური PSU სიგრძე | 165 მმ |
| გაფართოების სლოტები | 7 |
| I/O პორტები | Power, LED Control Button, USB 3.0 x 1, USB 2.0 x 2, HD-AUDIO |
| მყარი დისკის ფორმის ფაქტორი | 3.5 ინჩი |
| Internal Bays Quantity | 2 (3.5" HDD / 2.5" SSD Convertible), 3 (2.5" SSD) |
8. გარანტია და მხარდაჭერა
The Antec NX410 ATX Mid-Tower Case comes with a 2 წლიანი გარანტია. For technical support, troubleshooting assistance, or warranty claims, please visit the official Antec webსაიტზე ან დაუკავშირდით მათ მომხმარებელთა მომსახურების განყოფილებას. შეინახეთ შეძენის დამადასტურებელი საბუთი გარანტიის დასადასტურებლად.