Ashfly Handheld Digital Microscope (Model inskam382) User Manual
Model: inskam382
1. შესავალი
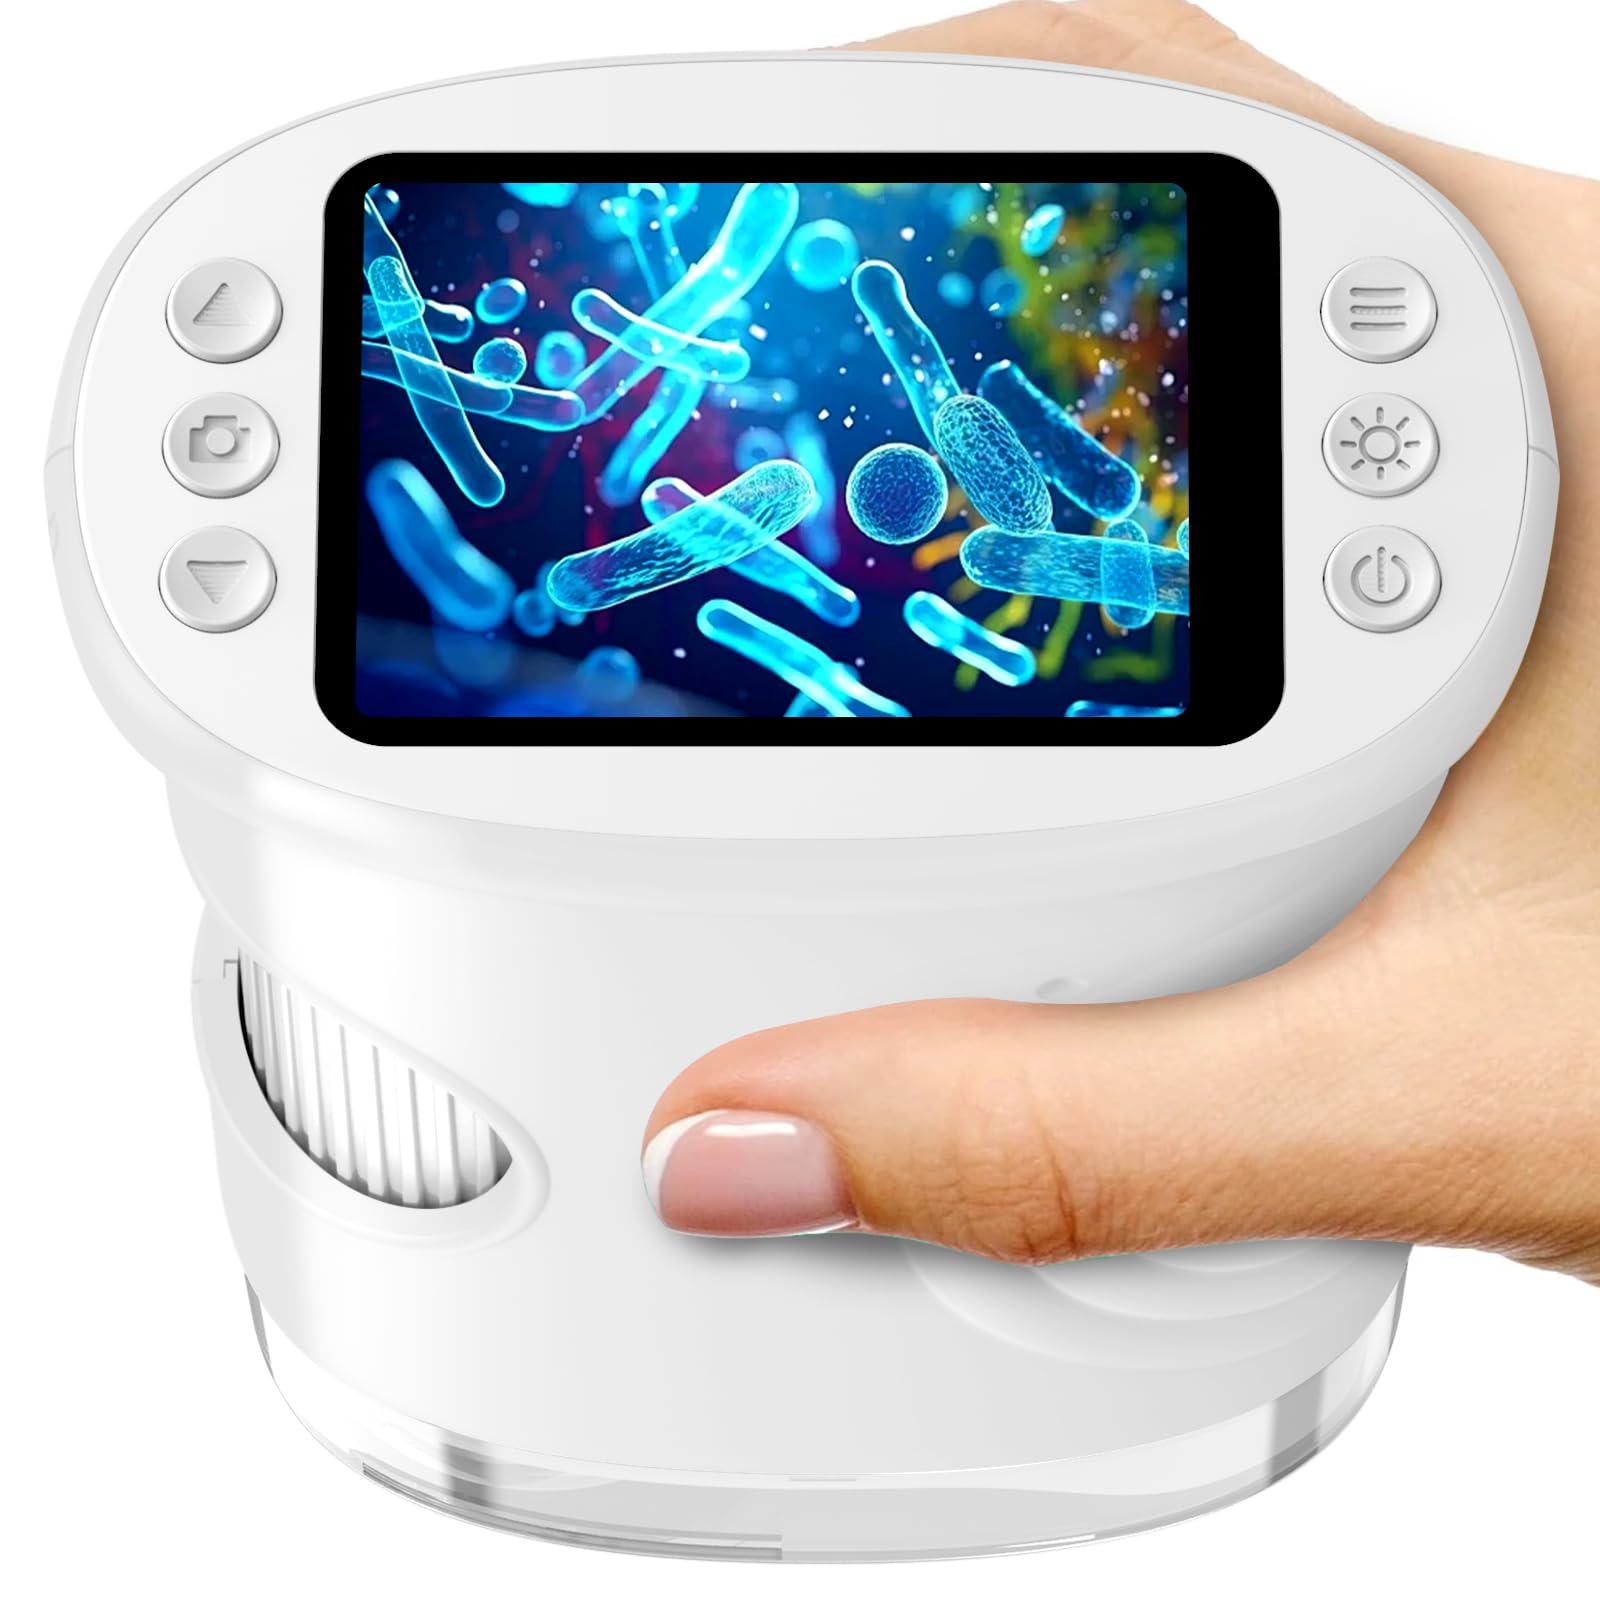
The Ashfly Handheld Digital Microscope (Model inskam382) is a portable STEM science tool designed for children aged 5-13. It features a 2.0-inch IPS screen, offering 200x to 1000x magnification, and includes photo and video recording capabilities. This device encourages outdoor exploration and scientific discovery by allowing users to observe the microscopic world around them.
Image: The Ashfly Handheld Digital Microscope in white, showcasinგ მისი კომპაქტური დიზაინი.
Ashfly Handheld Digital Microscope (Model inskam382)
USB-C დამტენი კაბელი
კისრის სამაჯური
ინსტრუქციის სახელმძღვანელო
Pre-mounted Biological Slides (Quantity may vary)
სურათი: მაგample of pre-mounted biological slides included with the microscope, featuring vegetable, plant, and animal specimens.
3. ძირითადი მახასიათებლები
გადიდება: 200x to 1000x digital zoom for detailed observation.
ჩვენება: 2.0-inch IPS HD screen for clear viewინგ.
ჩაწერა: One-touch photo and video capture function.
პორტაბელურობა: Lightweight (0.28 lbs) and ergonomic design with a neck strap for easy carrying.
სიმძლავრე: Built-in 600mAh rechargeable battery, providing up to 2.5 hours of continuous use.
დაკავშირება: USB-C port for charging and PC connection for larger display.
განათება: Integrated LED light source for enhanced visibility.
სურათი: აფეთქებული view diagram illustrating the 1080P HD digital lens system within the microscope.
4. დაყენება
4.1 მოწყობილობის დატენვა
Before first use, fully charge the microscope. Connect the provided USB-C cable to the microscope's charging port and the other end to a USB power adapter (not included) or a computer's USB port. The charging indicator will show the charging status.
4.2 ჩართვა/გამორთვა
To power on, press and hold the power button located on the device until the screen illuminates. To power off, press and hold the power button again until the screen turns off.
4.3 მიკრო SD ბარათის ჩასმა (არასავალდებულო)
To save photos and videos, insert a Micro SD card (not included) into the designated slot. Ensure the card is inserted correctly with the contacts facing down. The device supports Micro SD cards for expanded storage.
5. საოპერაციო ინსტრუქციები
5.1 გადიდებისა და ფოკუსის რეგულირება
Place the microscope's lens directly over the object you wish to observe. Rotate the focus wheel, typically located on the side of the device, to adjust the clarity of the image on the screen. The magnification can be adjusted between 200x and 1000x by rotating the focus wheel and moving the microscope closer or further from the object.
Image: A child using the microscope, rotating the focus wheel to view a fish in an aquarium.
5.2 ფოტოების გადაღება და ვიდეოების ჩაწერა
Once the image is clear on the 2.0-inch IPS screen, press the designated photo button to capture a still image. To record a video, press the video button to start recording, and press it again to stop. Ensure a Micro SD card is inserted to save your recordings.
Image: A child observing a bee with the microscope, highlighting the photo and video recording capabilities.
5.3 კომპიუტერთან დაკავშირება
უფრო დიდი ზომისთვის viewing experience or to transfer files, connect the microscope to a computer using the USB-C cable. The microscope may appear as a removable disk drive, allowing you to access saved photos and videos. Some operating systems may require driver installation, which can typically be found on the manufacturer's webსაიტი.
Image: The microscope connected to a laptop, demonstrating how to transfer photos and videos for a larger view.
5.4 Using Pre-mounted Slides
If included, place a pre-mounted biological slide under the microscope's lens. Adjust the focus wheel to achieve a clear image. These slides offer a convenient way to explore various specimens immediately.
Video: A demonstration of the Ashfly Kids Microscope in use, showing how to observe various objects and adjust settings.
6. მოვლა
6.1 დასუფთავება
To clean the microscope's body, use a soft, dry cloth. For the lens and screen, use a specialized lens cleaning cloth and solution to avoid scratches. Do not use abrasive cleaners or immerse the device in water.
6.2 შენახვა
Store the microscope in a cool, dry place away from direct sunlight and extreme temperatures. When not in use for extended periods, ensure the battery is partially charged (around 50%) to prolong its lifespan.
7. Დიაგნოსტიკა
პრობლემა
შესაძლო მიზეზი
გამოსავალი
მოწყობილობა არ ჩაირთვება.
დაბალი ბატარეა; ჩართვის ღილაკი სწორად არ არის დაჭერილი.
Charge the device using the USB-C cable. Press and hold the power button firmly for a few seconds.
სურათი ბუნდოვანია.
არასწორი ფოკუსირება; ლინზა დაბინძურებულია; ობიექტი ძალიან შორს/ახლოსაა.
Rotate the focus wheel to adjust. Clean the lens with a soft cloth. Adjust the distance between the lens and the object.
ფოტოების/ვიდეოების შენახვა შეუძლებელია.
No Micro SD card inserted; SD card full or corrupted.
Insert a Micro SD card. Delete unnecessary files or replace the SD card. Ensure the SD card is not locked.
კომპიუტერთან დაკავშირება შეუძლებელია.
Faulty USB-C cable; Incorrect PC settings; Driver issue.
Try a different USB-C cable. Check PC's USB port. Ensure the microscope is powered on. Consult PC's device manager for driver issues.
8. სპეციფიკაციები
ფუნქცია
დეტალი
მოდელის სახელი
inskam382
ბრენდი
ეშფლაი
გადიდება
200x - 1000x (Digital)
ჩვენება
2.0" IPS ეკრანი
სინათლის წყარო
LED
დენის წყარო
600mAh USB-C Rechargeable Battery
მასალა
პლასტიკური
ფერი
თეთრი
თავსებადი მოწყობილობები
Personal Computer (for data transfer/larger view)
9. გარანტია და მხარდაჭერა
Ashfly provides technical support for this product. For any questions, issues, or technical assistance, please contact Ashfly customer service through the retailer's platform or the official Ashfly webსაიტი. გთხოვთ, შეინახოთ შეძენის დამადასტურებელი საბუთი გარანტიის მოთხოვნისთვის.
Video: A brief instructional video demonstrating the usage of the Ashfly Children's Microscope.
Ask a question about this manual
Ask about setup, troubleshooting, compatibility, parts, safety, or missing instructions. Manuals+ will review the question and use this page’s manual context to help answer it.