
1. პროდუქტი დასრულდაview
The Origimagic C4 Mini PC is a compact desktop computer designed for various applications including office work, home theater, education, and light photo editing. It features an AMD Ryzen 5 3550H processor, expandable memory and storage, and versatile connectivity options.
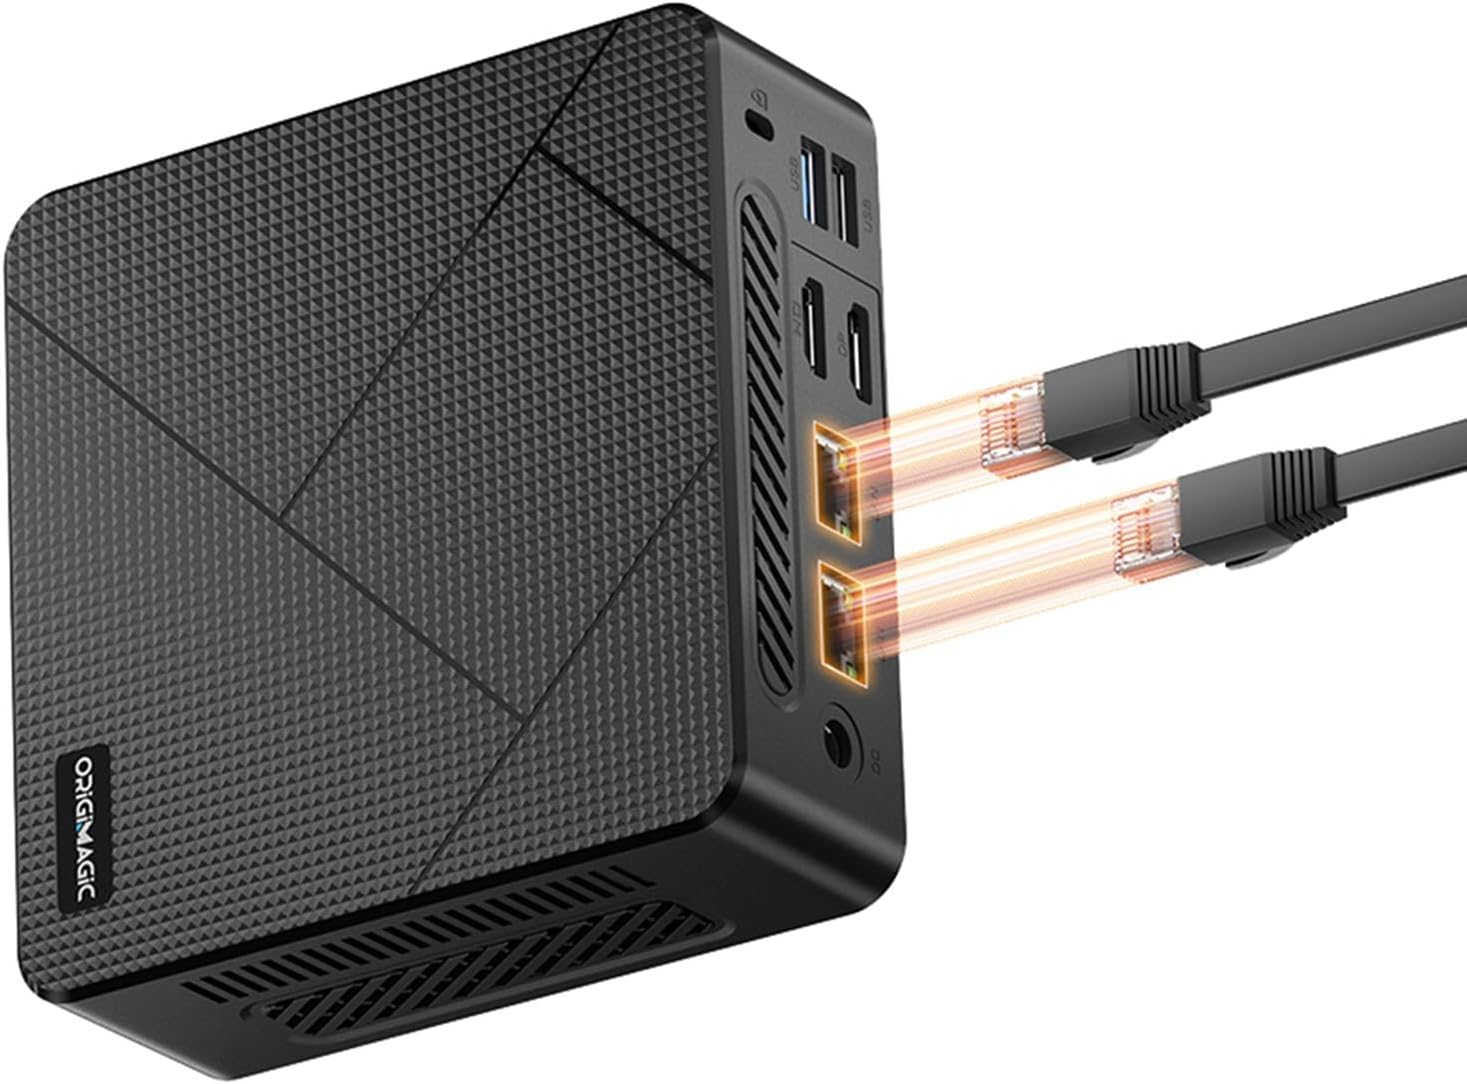
Figure 1: Origimagic C4 Mini PC with connected LAN cables.
This image displays the compact black chassis of the Origimagic C4 Mini PC. The front panel features USB ports and a power button. The side panel shows two Ethernet ports with glowing indicators, suggesting active network connections. Two black Ethernet cables are plugged into these ports, extending towards the right side of the image. The top surface of the mini PC has a textured, geometric pattern.
2. დაყენების ინსტრუქციები
2.1 ყუთის ამოღება
Carefully remove all components from the packaging. Ensure all items listed in the 'What's in the Box' section are present. The package includes the Mini PC, power adapter, HDMI cable, VESA mount with screws, and a user manual.
Video 1: Unboxing the Origimagic C4 Pro Mini PC.
This video demonstrates the unboxing process of the Origimagic C4 Pro Mini PC. It shows the compact packaging and the careful removal of the mini PC unit and its accessories, including the power adapter, HDMI cable, and VESA mount.
2.2 პერიფერიული მოწყობილობების შეერთება
Connect your monitor(s), keyboard, and mouse to the appropriate ports on the Mini PC. The device supports triple display output via HDMI 2.0, USB-C, and DisplayPort. For wireless connectivity, Wi-Fi 5 and Bluetooth 5.0 are integrated.
Video 2: Connecting a monitor and keyboard to the Origimagic C4 Mini PC.
This video illustrates the process of connecting essential peripherals to the Origimagic C4 Mini PC. It shows an HDMI cable being plugged into the mini PC and a monitor, followed by a keyboard being connected to a USB port, demonstrating the ease of initial setup.
2.3 VESA სამაგრის მონტაჟი
The included VESA mount allows you to attach the Mini PC to the back of a compatible monitor, saving desk space. Secure the bracket to the Mini PC with screws, then fix the bracket to the back of your display using the provided screws.

Figure 2: Diagram showing the VESA mount and installation steps for the Origimagic C4 Mini PC.
This image shows the VESA mount bracket and the Mini PC. It illustrates the two-step installation process: first, attaching the bracket to the Mini PC, and second, securing the bracket to the back of a monitor. This allows for a clean, integrated setup.
3. საოპერაციო ინსტრუქციები
3.1 ჩართვა/გამორთვა
Press the power button located on the front of the Mini PC to turn it on. To power off, use the operating system's shutdown function or press and hold the power button for a few seconds.
3.2 BIOS პარამეტრები
The Origimagic C4 Mini PC supports BIOS settings such as Auto Power On and Wake on LAN. These settings can be configured in the BIOS menu. Refer to the
Ask a question about this manual
Ask about setup, troubleshooting, compatibility, parts, safety, or missing instructions. Manuals+ will review the question and use this page’s manual context to help answer it.