1. შესავალი
Thank you for choosing the THOMSON TDF-1001P Digital Photo Frame. This device allows you to display your favorite photos and videos, play music, and utilize features like a calendar, clock, and alarm. With Wi-Fi connectivity, you can easily share media and receive weather updates. Please read this manual thoroughly before operating the device to ensure proper use and maintenance.
2. უსაფრთხოების ინფორმაცია
- არ დაუშვათ მოწყობილობის ნესტი, წვიმა ან ექსტრემალური ტემპერატურა.
- მოერიდეთ მოწყობილობის განთავსებას სითბოს წყაროებთან ან მზის პირდაპირ შუქზე.
- გამოიყენეთ მხოლოდ მოწოდებული კვების ადაპტერი. არაავტორიზებული ადაპტერების გამოყენებამ შეიძლება დააზიანოს მოწყობილობა და გააუქმოს გარანტია.
- არ სცადოთ მოწყობილობის დამოუკიდებლად დაშლა ან შეკეთება. ყველა სახის მომსახურება კვალიფიციურ პერსონალს მიანდეთ.
- შეინახეთ მოწყობილობა ძლიერი მაგნიტური ველებისგან.
- Clean the screen with a soft, dry cloth. Do not use liquid cleaners or sprays directly on the screen.
3. პაკეტის შიგთავსი
გთხოვთ, შეამოწმოთ შეფუთვა შემდეგი ნივთებისთვის:
- THOMSON TDF-1001P Digital Photo Frame
- დენის ადაპტერი
- მომხმარებლის სახელმძღვანელო (ეს დოკუმენტი)
- სადგამი (ასეთის არსებობის შემთხვევაში)
4. პროდუქტი დასრულდაview
Familiarize yourself with the components of your digital photo frame.
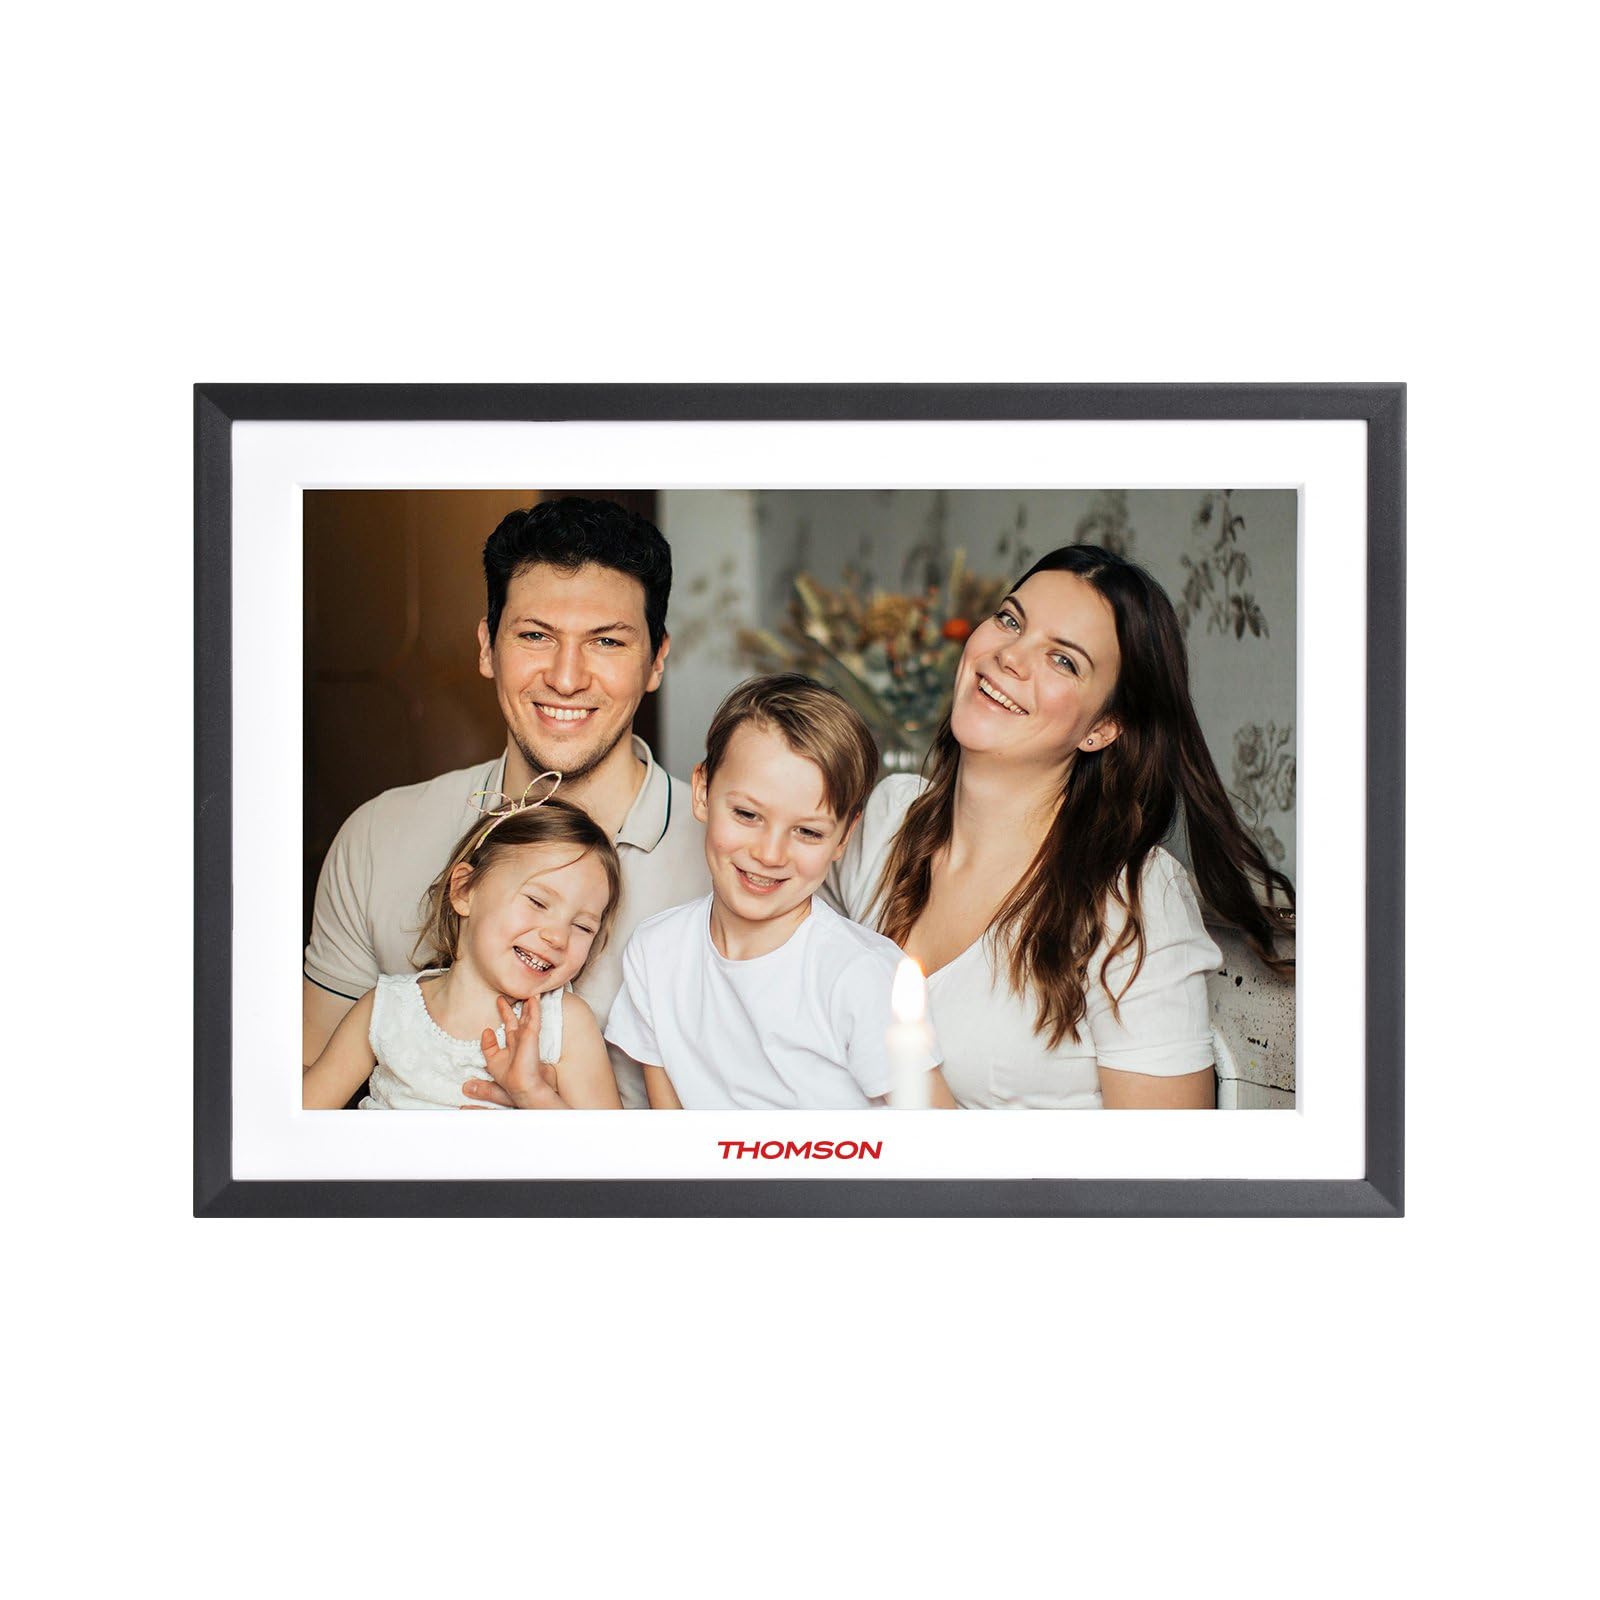
სურათი 4.1: წინა view of the THOMSON TDF-1001P Digital Photo Frame. This image shows the 10.1-inch IPS display with a black frame, designed for clear photo and video playback.
4.1. Წინა პანელი
- 10.1 დიუმიანი IPS სენსორული ეკრანი: The main display for viewing content and interacting with the device.
4.2. უკანა პანელი და პორტები
The rear panel typically includes various ports for connectivity and power.
- დენის შეყვანა: უერთდება მოწოდებულ კვების ადაპტერს.
- USB პორტი: For connecting USB drives to transfer media.
- SD ბარათის სლოტი: For inserting SD cards to expand storage or transfer media.
- გადატვირთვის ღილაკი: A small pinhole button to reset the device if necessary.
5. დაყენება
5.1. პირველადი ჩართვა
- Unpack the digital photo frame and its accessories.
- Attach the stand to the back of the frame, ensuring it is securely fastened.
- Connect the power adapter to the power input port on the frame.
- შეაერთეთ კვების ადაპტერი კედლის როზეტში. ჩარჩო ავტომატურად ჩაირთვება.
- მიჰყევით ეკრანზე მითითებებს თქვენი ენისა და რეგიონის ასარჩევად.
5.2. Wi-Fi კავშირი
Connecting to Wi-Fi enables online features like photo sharing and weather updates.
- From the main menu, tap on 'Settings'.
- Select 'Wi-Fi' or 'Network Settings'.
- Toggle Wi-Fi to 'On'. The frame will scan for available networks.
- სიიდან აირჩიეთ სასურველი Wi-Fi ქსელი.
- ეკრანული კლავიატურის გამოყენებით შეიყვანეთ Wi-Fi-ს პაროლი და შეეხეთ „დაკავშირებას“.
- Once connected, a Wi-Fi icon will appear on the status bar.
5.3. App Setup for Sharing
To share photos and videos via Wi-Fi, you will need to install the dedicated app on your smartphone.
- Locate the app name or QR code in the frame's settings under 'Cloud Services' or 'App Connection'.
- Download and install the app on your smartphone from your device's app store.
- გახსენით აპლიკაცია და შექმენით ანგარიში ან შედით სისტემაში.
- Follow the app's instructions to pair your smartphone with the digital photo frame, typically by scanning a QR code displayed on the frame or entering a unique device ID.
- Once paired, you can send photos and videos directly from your smartphone to the frame.
6. Operating the Digital Photo Frame
6.1. ინტერფეისის ნავიგაცია
The frame features a touch screen for easy navigation. Tap icons to open applications and swipe to browse content or menus.
6.2. Photo and Video Playback
- From the main menu, tap the 'Photos' or 'Gallery' icon.
- Select the source of your media (Internal Storage, SD Card, USB Drive, or Cloud/App).
- Browse through your albums or individual files. Tap on a photo or video to view ის.
- During playback, you can typically swipe left/right to navigate between files, or tap the screen to reveal playback controls (play/pause, next, previous, rotate, delete).
6.3. მუსიკის დაკვრა
- Tap the 'Music' icon from the main menu.
- Select the source of your music files.
- Browse and tap on a song to begin playback.
- Use the on-screen controls for play/pause, skip, volume adjustment, and repeat modes.
6.4. Calendar, Clock, and Alarm
- კალენდარი: Tap the 'Calendar' icon to view the current date and month. Some models may allow adding events.
- საათი: The current time is usually displayed on the home screen. Time settings can be adjusted in the 'Settings' menu.
- სიგნალიზაცია: Access the 'Alarm' function via the main menu or 'Settings'. You can set multiple alarms with custom times and sounds.
6.5. ამინდის განახლებები
If connected to Wi-Fi, the frame can display local weather information.
- დარწმუნდით, რომ ჩარჩო დაკავშირებულია Wi-Fi-სთან.
- Go to 'Settings' and find 'Weather' or 'Location Services'.
- Enable weather updates and set your location (either automatically or manually).
- The weather forecast will then be displayed on the home screen or a dedicated weather widget.
7. მოვლა
7.1. მოწყობილობის გაწმენდა
- გაწმენდის წინ ყოველთვის გამორთეთ მოწყობილობა და გამორთეთ ის დენის წყაროდან.
- ეკრანისა და ჩარჩოს ნაზად გასაწმენდად გამოიყენეთ რბილი, უბუშტო ქსოვილი.
- ეკრანზე ჯიუტი ლაქების შემთხვევაში, მსუბუქად შეიზილეთampen the cloth with water or a screen-safe cleaning solution, then wipe gently. Do not spray liquids directly onto the screen.
- მოერიდეთ აბრაზიული საწმენდი საშუალებების ან გამხსნელების გამოყენებას.
7.2. შენახვა
When not in use for extended periods, store the digital photo frame in a cool, dry place, away from direct sunlight and extreme temperatures. It is recommended to keep the original packaging for storage.
8. Დიაგნოსტიკა
ეს განყოფილება განიხილავს გავრცელებულ პრობლემებს, რომლებსაც შეიძლება წააწყდეთ.
| პრობლემა | შესაძლო მიზეზი | გამოსავალი |
|---|---|---|
| ჩარჩო არ ირთვება. | კვების ადაპტერი არ არის დაკავშირებული ან გაუმართავია. | დარწმუნდით, რომ კვების ადაპტერი საიმედოდ არის დაკავშირებული ჩარჩოსთან და მოქმედ დენის წყაროსთან. სცადეთ სხვა როზეტი. |
| Wi-Fi-თან დაკავშირება შეუძლებელია. | არასწორი პაროლი, ქსელის დიაპაზონის მიღმა ან როუტერის პრობლემა. | Verify the Wi-Fi password. Move the frame closer to the router. Restart your Wi-Fi router. |
| Photos/videos not displaying. | მხარდაუჭერელია file ფორმატი, დაზიანებული files, or incorrect source selected. | უზრუნველყოს files are in supported formats (e.g., JPEG for photos, MP4 for videos). Check if the files are corrupted. Select the correct storage source (SD card, USB, internal). |
| სენსორული ეკრანი არ რეაგირებს. | დროებითი პროგრამული უზრუნველყოფის გაუმართაობა. | Restart the frame by unplugging and replugging the power adapter. If the issue persists, use a pin to press the reset button on the back. |
9. სპეციფიკაციები
| ფუნქცია | სპეციფიკაცია |
|---|---|
| მოდელი | TDF-1001P |
| ჩვენების ზომა | 10.1 ინჩი |
| რეზოლუცია | 800 * 1280 IPS |
| ასპექტის თანაფარდობა | 16:10 |
| Internal Flash Storage | 32 GB |
| სენსორული ეკრანი | G+P Type |
| დაკავშირება | Wi-Fi |
| ფუნქციები | Photo, Music, Video, Calendar, Clock, Alarm, Weather, Wi-Fi Sharing |
| მასალა | Plastic black frame and white middle frame |
| ელემენტის ზომები (L x W) | 7.25" სიგრძე x 10.44" სიგანე |
| დენის წყარო | კაბელიანი ელექტრო |
10. ინფორმაცია გარანტიის შესახებ
The THOMSON TDF-1001P Digital Photo Frame comes with a 1 წლიანი შეზღუდული გარანტია from the date of purchase. This warranty covers manufacturing defects in materials and workmanship under normal use. It does not cover damage caused by misuse, accidents, unauthorized modifications, or external causes such as power surges.
Please retain your proof of purchase for warranty claims. For detailed warranty terms and conditions, refer to the warranty card included in your package or contact customer support.
11. მომხმარებელთა მხარდაჭერა
If you have any questions, require technical assistance, or need to make a warranty claim, please contact THOMSON customer support. Refer to the contact information provided on the product packaging or the official THOMSON webსაიტი.
When contacting support, please have your product model number (TDF-1001P) and proof of purchase readily available.