1. შესავალი
The Intermec PM43 is a mid-range industrial label printer designed for reliable performance and ease of use. This printer supports both direct thermal and thermal transfer printing methods, making it versatile for various labeling applications. It features a user-friendly interface, available with either a color touch-screen or universal icons, to simplify operation and reduce training requirements. This manual provides essential information for setting up, operating, maintaining, and troubleshooting your PM43 printer.

სურათი 1: წინა view of the Intermec PM43 printer, showing the control panel and media output slot.
2. დაყენება
2.1 შეფუთვა და განთავსება
Carefully remove the printer from its packaging. Ensure all packing materials are removed. Place the printer on a stable, flat surface with adequate space around it for ventilation and access to ports and media loading areas.
2.2 დენის დაკავშირება
- Ensure the printer's power switch is in the OFF (O) position.
- Connect the power cord to the printer's AC inlet.
- შეაერთეთ დენის კაბელის მეორე ბოლო დამიწებულ ელექტრო განყოფილებაში.
2.3 მასპინძელ სისტემასთან დაკავშირება
The PM43 printer supports USB and Ethernet connectivity.
- USB კავშირი: შეაერთეთ USB კაბელი პრინტერის USB პორტიდან თქვენი კომპიუტერის ერთ-ერთ თავისუფალ USB პორტთან.
- Ethernet კავშირი: პრინტერის Ethernet პორტიდან Ethernet კაბელი შეაერთეთ თქვენს ქსელის როუტერთან ან კომუტატორთან.

Figure 2: Rear panel of the PM43 printer, illustrating the power inlet, power switch, USB ports, and Ethernet port.
2.4 მედიის ჩატვირთვა
The PM43 printer can use various media types, including labels, tags, and continuous media. For thermal transfer printing, a ribbon is also required.
- Open the printer's media cover.
- Place the roll of labels onto the media supply spindle, ensuring the labels feed from the bottom of the roll.
- Thread the media through the guides and under the printhead assembly.
- If using thermal transfer, load the ribbon onto the ribbon supply spindle and thread it according to the internal diagrams.
- დახურეთ მედიის საფარი.

სურათი 3: შიდა view of the PM43 printer, highlighting the media and ribbon loading mechanisms.
3. საოპერაციო ინსტრუქციები
3.1 ჩართვა/გამორთვა
- To power on, flip the power switch on the rear panel to the ON (I) position. The printer will perform a self-test.
- To power off, flip the power switch to the OFF (O) position.
3.2 ძირითადი ბეჭდვა
Once the printer is connected and media is loaded, you can send print jobs from your host system. Ensure the correct printer drivers are installed on your computer.
- გახსენით დოკუმენტი ან აპლიკაცია, საიდანაც გსურთ ბეჭდვა.
- Select the Intermec PM43 printer from the print dialog.
- Adjust print settings (e.g., label size, print density) as needed.
- დაიწყეთ ბეჭდვის დავალება.
3.3 Using the User Interface
The PM43 features either a color touch-screen or a universal-icon interface for direct control and configuration. Navigate through menus to adjust settings such as media calibration, network configuration, and printer status.
4. მოვლა
4.1 საბეჭდი თავის გაწმენდა
Regular cleaning of the printhead is crucial for maintaining print quality and extending the printhead's lifespan. Use a lint-free cloth or a printhead cleaning pen with isopropyl alcohol.
- Power off the printer and disconnect the power cord.
- გახსენით მედიის საფარი.
- Gently wipe the printhead element from the center outwards.
- Allow the printhead to dry completely before closing the cover and powering on the printer.
4.2 Replacing Media and Ribbon
Replace media rolls and thermal transfer ribbons as they run out. Refer to section 2.4 for loading instructions. Always ensure the correct media and ribbon types are used for optimal performance.
5. Დიაგნოსტიკა
This section addresses common issues you might encounter with your PM43 printer.
5.1 ბეჭდვის დაბალი ხარისხი
- Faded or incomplete print: Clean the printhead (see section 4.1). Ensure the ribbon (if thermal transfer) is correctly loaded and not depleted. Adjust print density settings.
- Smudged print: Verify media type is compatible. Ensure printhead pressure is correctly set.
5.2 Media Jams
- გამორთეთ პრინტერი.
- Open the media cover and carefully remove any jammed media.
- Ensure media is loaded correctly and guides are properly adjusted.
- Close the cover and power on.
5.3 დაკავშირების პრობლემები
- Printer not detected: Check all cable connections (USB/Ethernet). Restart the printer and host system. Verify driver installation.
- ქსელის პრობლემები: Confirm network cable is connected. Check network settings on the printer and host system.
6. სპეციფიკაციები
The following table outlines the key technical specifications for the Intermec PM43 printer.
| ფუნქცია | სპეციფიკაცია |
|---|---|
| მოდელის სახელი | PM43 |
| ბეჭდვის ტექნოლოგია | Direct Thermal / Thermal Transfer |
| ბეჭდვის ფერი | მონოქრომული (შავი) |
| ბეჭდვის მაქსიმალური სიჩქარე | 12 ინჩი წამში |
| ბეჭდვის მაქსიმალური გარჩევადობა | 203 dpi |
| მხარდაჭერილი მედიის ტიპები | Black Mark, Continuous Label, Fanfold, Gap, Label, Linered Label, Linerless, Notch, Roll Fed, Tag |
| მაქსიმალური მედიის ზომა | 4 x 6 ინჩი |
| დაკავშირება | USB-Ethernet |
| მეხსიერება | 128 მბ |
| კონტროლის მეთოდი | Touch-screen or Universal-icon interface |
| პროდუქტის ზომები | 25 x 18 x 16 ინჩი |
| ნივთის წონა | 1 ფუნტი |
| დენის წყარო | AC მიწოდება |
| Language Emulation | DSim, Fingerprint, IPL, XML |
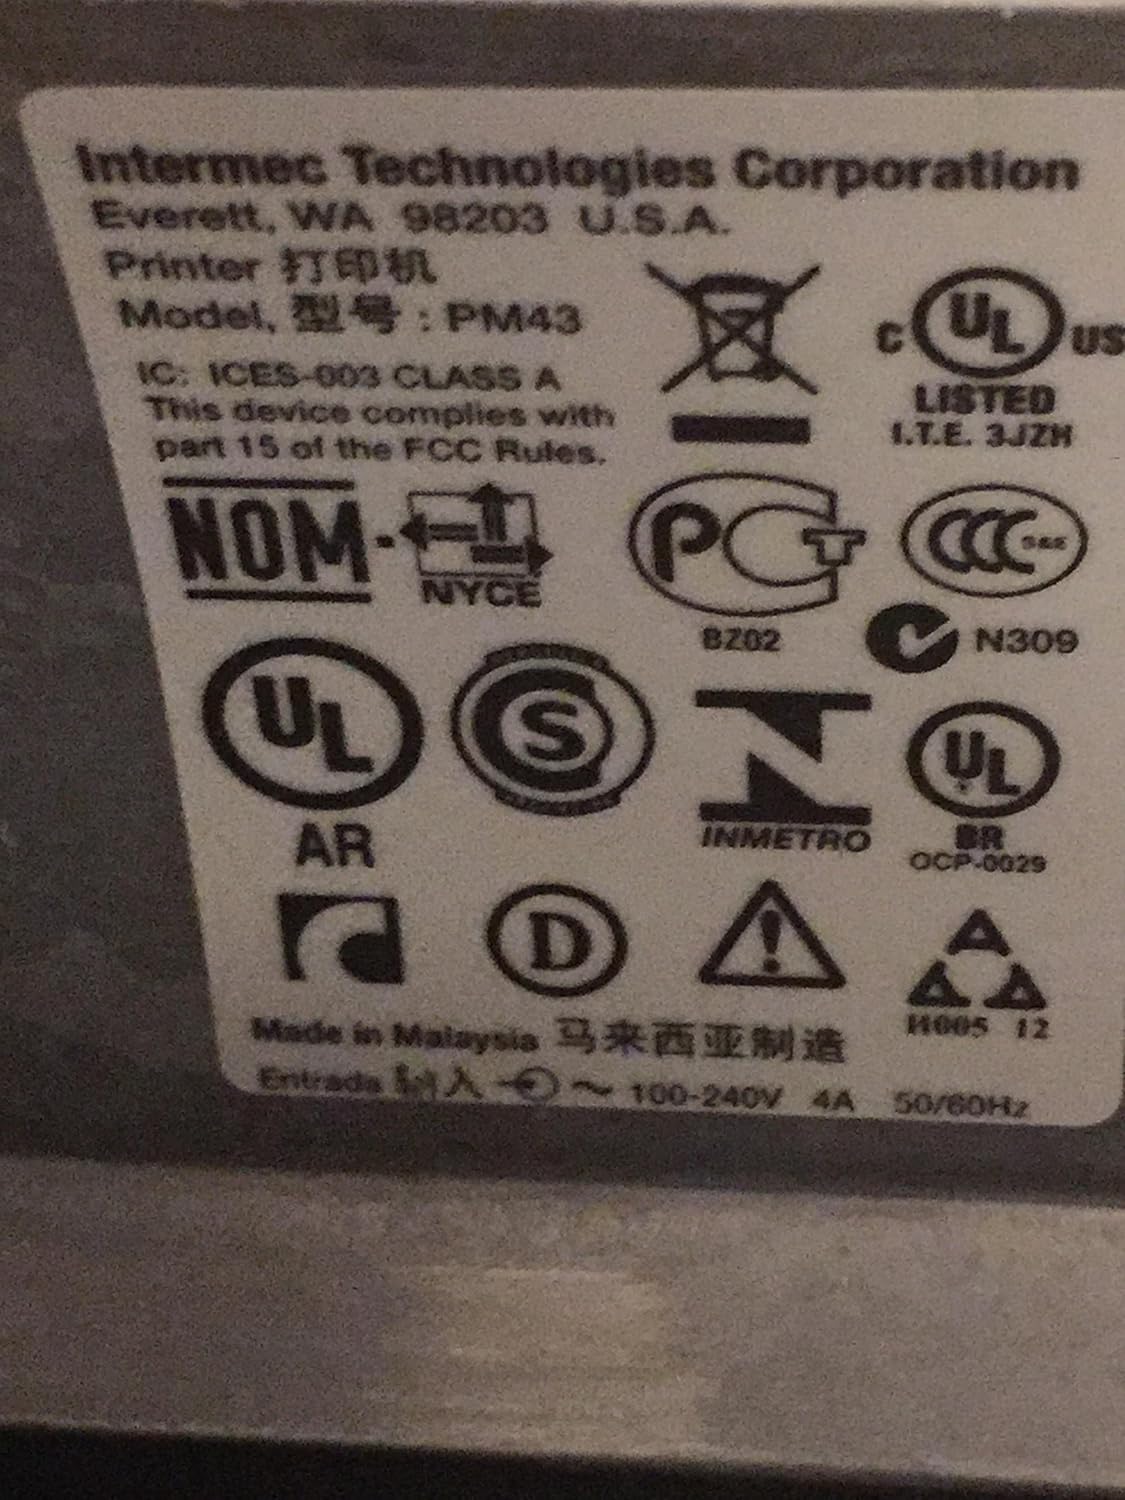
Figure 4: Regulatory and compliance labels found on the Intermec PM43 printer.
7. ინფორმაცია გარანტიის შესახებ
The Intermec PM43 printer is covered by a limited warranty. For specific terms and conditions, please refer to the warranty documentation included with your product or visit the official Intermec support webსაიტი.
8. მხარდაჭერა
For further assistance, technical support, or to download the latest drivers and firmware, please visit the official Intermec support website or contact your authorized Intermec dealer. Ensure you have your printer's model number (PM43A01000000201) and serial number available when seeking support.


