1. შესავალი
This manual provides detailed instructions for the installation, operation, and maintenance of your CP Plus CP-UVR-0401E1-S 4 Channel Digital Video Recorder (DVR). This device is designed for surveillance applications, allowing you to record and manage video footage from up to four cameras. Please read this manual thoroughly before using the product to ensure proper and safe operation.
2. უსაფრთხოების ინფორმაცია
- ელექტრომომარაგება: გამოიყენეთ მხოლოდ მითითებული კვების ადაპტერი. არასწორი მოცულობაtage შეიძლება დაზიანდეს მოწყობილობა და გააუქმოს გარანტია.
- ვენტილაცია: Ensure adequate ventilation around the DVR. Do not block ventilation openings.
- გარემო: Avoid exposing the DVR to extreme temperatures, humidity, dust, or direct sunlight.
- დამუშავება: Handle the device with care. Avoid dropping or subjecting it to strong vibrations.
- მომსახურება: Do not attempt to open or service the DVR yourself. Refer all servicing to qualified personnel.
3. პაკეტის შიგთავსი
დარწმუნდით, რომ შეფუთვაში ყველა ნივთია:
- CP Plus CP-UVR-0401E1-S 4 Channel DVR Unit
- დენის ადაპტერი
- USB მაუსი
- Screws for Hard Disk Drive (HDD) Installation
- სწრაფი დაწყების სახელმძღვანელო
4. დაყენება
4.1. Hard Disk Drive (HDD) Installation
The CP-UVR-0401E1-S DVR is supplied without a pre-installed hard disk drive. An HDD is required for recording video footage.
- Unscrew and remove the top cover of the DVR unit.
- Connect the SATA data cable and power cable from the DVR to the corresponding ports on your 3.5-inch SATA HDD.
- Secure the HDD to the bottom of the DVR chassis using the provided screws.
- დაახურეთ ზედა საფარი და დაამაგრეთ ხრახნებით.
4.2. კამერების დაკავშირება
Connect your analog surveillance cameras to the BNC video input ports on the rear panel of the DVR. The DVR supports up to 4 cameras.
4.3. Connecting a Monitor
Connect a monitor to the DVR using either the VGA or HDMI output port on the rear panel. This allows you to view პირდაპირი ტრანსლაცია და პარამეტრების კონფიგურაცია.
4.4. ქსელის კავშირი
დისტანციისთვის viewing and network features, connect an Ethernet cable from your router or network switch to the LAN port on the DVR's rear panel.
4.5. დენის კავშირი
Connect the provided power adapter to the DC 12V input port on the DVR, then plug the adapter into a power outlet. The DVR will power on automatically.
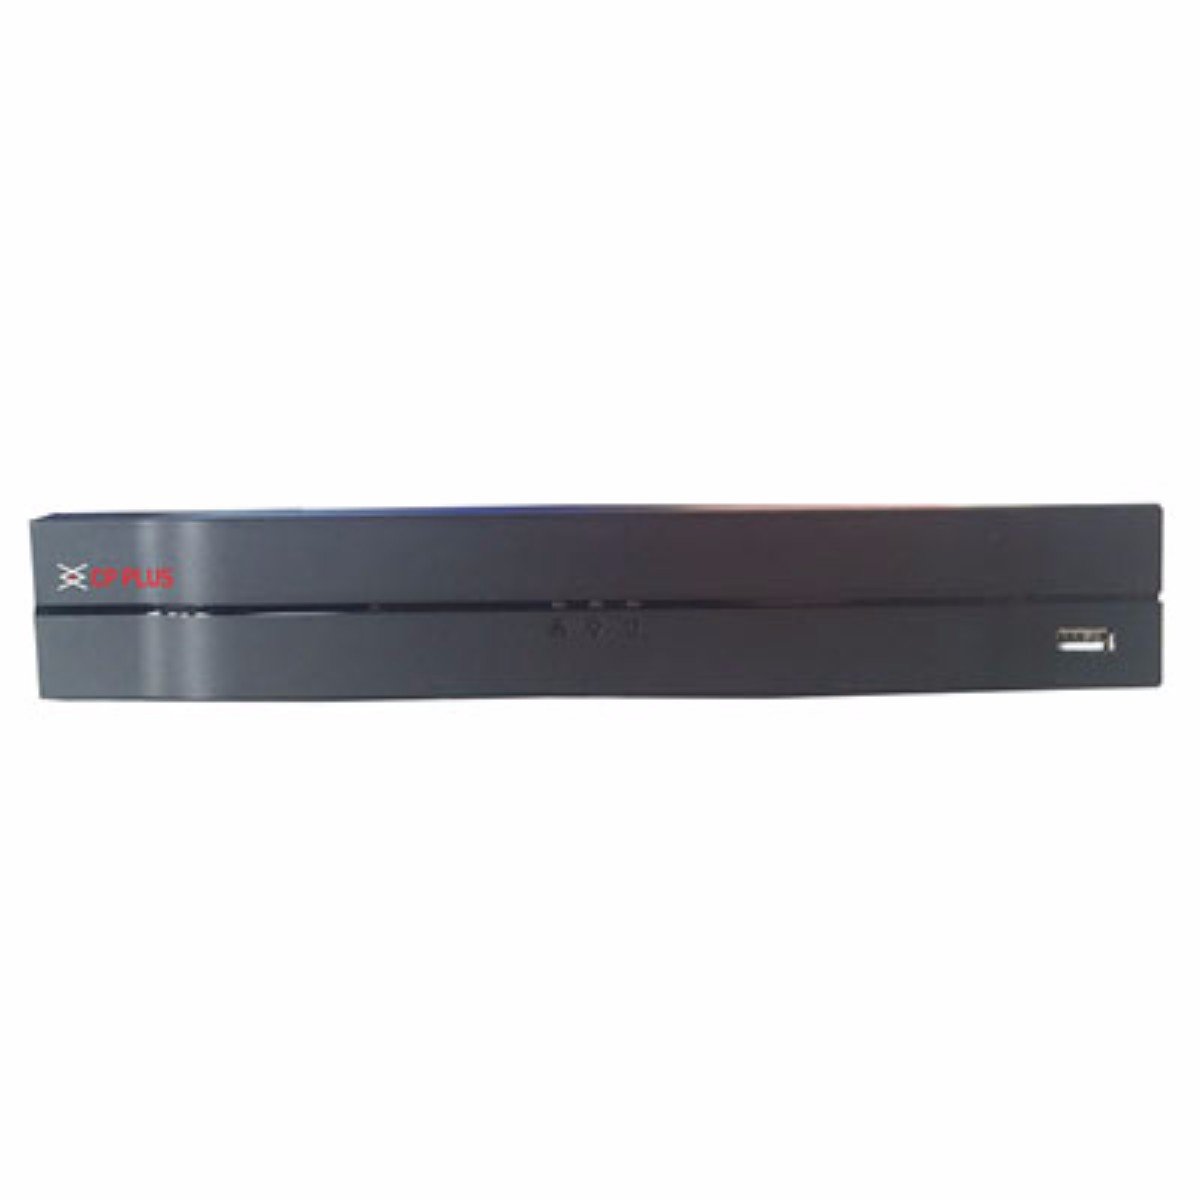
სურათი: წინა მხარე view of the CP Plus CP-UVR-0401E1-S 4 Channel DVR unit, showing its compact black design and front panel indicators.
5. მოქმედებს
5.1. Initial Boot and Setup Wizard
Upon first power-on, the DVR will guide you through an initial setup wizard. This typically includes setting the date/time, network configuration, and creating an administrator password. Follow the on-screen prompts.
5.2. მომხმარებლის ინტერფეისის ნავიგაცია
Use the included USB mouse to navigate the DVR's graphical user interface (GUI). Right-click to access the main menu, and left-click to select options.
5.3. იცხოვრე View
დაყენების შემდეგ, DVR აჩვენებს პირდაპირ ეთერში view from connected cameras. You can switch between single-camera view და მრავალკამერიანი ბადე views.
5.4. Recording Configuration
Access the 'Record' settings from the main menu to configure recording schedules, motion detection, and other recording parameters for each camera. Ensure your HDD is formatted and recognized by the system.
5.5. დაკვრა
ხელახლაview ჩაწერილი ფუtage, select 'Playback' from the main menu. You can search for recordings by date, time, and camera channel. Use the playback controls to fast forward, rewind, and pause.
5.6. Network Access / Remote Viewინგ
Configure network settings (IP address, port forwarding, or P2P cloud service) to enable remote access to your DVR via a web browser or mobile application. Refer to the DVR's network settings menu for specific options.
6. მოვლა
6.1. რეგულარული წმენდა
Periodically clean the exterior of the DVR with a soft, dry cloth. Ensure ventilation openings are free from dust and debris to prevent overheating.
6.2. მყარი დისკის მართვა
Regularly check the status of your Hard Disk Drive (HDD) through the DVR's system settings. Ensure there is sufficient storage space and that the HDD is functioning correctly. The DVR may automatically overwrite older footage when the disk is full, depending on your settings.
6.3. პროგრამული უზრუნველყოფის განახლებები
შეამოწმეთ მწარმოებლის ოფიციალური website for available firmware updates. Firmware updates can improve performance, add new features, or fix bugs. Follow the provided instructions carefully when performing an update.
7. Დიაგნოსტიკა
7.1. არ არის ძალა
- Ensure the power adapter is securely connected to the DVR and a working power outlet.
- შეამოწმეთ, რომ დენის წყარო ფუნქციონირებს სხვა მოწყობილობის ჩართვით.
7.2. No Video Signal on Monitor
- Check the VGA or HDMI cable connection between the DVR and the monitor.
- დარწმუნდით, რომ მონიტორი ჩართულია და სწორი შეყვანის წყაროზეა დაყენებული.
- Verify that cameras are properly connected and powered.
7.3. ჩაწერის პრობლემები
- Confirm that an HDD is installed and properly formatted within the DVR's settings.
- Check the recording schedule and ensure it is enabled for the desired channels.
- დარწმუნდით, რომ HDD-ს აქვს საკმარისი თავისუფალი ადგილი.
7.4. ქსელთან დაკავშირების პრობლემები
- Ensure the Ethernet cable is securely connected to the DVR and your router/switch.
- Check the network settings in the DVR to confirm correct IP address configuration (DHCP or static IP).
- Verify your router is functioning correctly and providing network access.
8. სპეციფიკაციები
| ფუნქცია | სპეციფიკაცია |
|---|---|
| მოდელის ნომერი | CP-UVR-0401E1-S |
| არხების რაოდენობა | 4 |
| დაკავშირების ტექნოლოგია | USB-Ethernet |
| სულ USB პორტები | 4 |
| მედია ფორმატი ციფრული ვიდეო | HDD (Hard Disk Drive, not included) |
| პაკეტის ზომები | 33.6 x 30.6 x 8.6 სმ |
| ნივთის წონა | 1.44 კგ |
| საჭიროა ბატარეები | არა |
9. ინფორმაცია გარანტიის შესახებ
This product is covered by a manufacturer's warranty. For specific warranty terms, conditions, and duration, please refer to the warranty card included with your product or visit the official CP Plus webსაიტი. შეინახეთ თქვენი შესყიდვის ქვითარი, როგორც შეძენის დამადასტურებელი საბუთი გარანტიის მოთხოვნის შემთხვევაში.
10. მხარდაჭერა
For technical assistance, troubleshooting beyond this manual, or service inquiries, please contact CP Plus customer support. Contact details can typically be found on the manufacturer's webადგილზე ან პროდუქტის შეფუთვაში.


