შესავალი
This manual provides detailed instructions for the setup, operation, maintenance, and troubleshooting of your VTECH VS112-2 DECT 6.0 Bluetooth 2 Handset Cordless Phone. Please read this manual thoroughly to ensure proper use and to take full advantagე ყველა მახასიათებლისგან.

Image: The VTECH VS112-2 cordless phone system, showing two handsets and the base unit with an integrated answering machine.
დაყენება
1. გახსნა და პირველადი განთავსება
- ფრთხილად ამოიღეთ ყველა კომპონენტი შეფუთვიდან.
- Place the base unit near a standard electrical outlet and a telephone wall jack.
- Ensure the location is away from heat sources, direct sunlight, and other electrical devices that may cause interference.
2. ბაზისური ბლოკის შეერთება
- კვების ადაპტერის პატარა ბოლო შეაერთეთ ბაზის უკანა მხარეს მდებარე კვების ბუდეში.
- დენის ადაპტერის დიდი ბოლო შეაერთეთ კედლის სოკეტში.
- ტელეფონის ხაზის კაბელის ერთი ბოლო შეაერთეთ TEL LINE ბუდეში, რომელიც ბაზის უკანა მხარესაა.
- ტელეფონის ხაზის კაბელის მეორე ბოლო შეაერთეთ ტელეფონის კედლის ბუდეში.
3. ბატარეის მონტაჟი და დატენვა
- Each handset requires 2 product-specific batteries (included).
- გახსენით ბატარეის განყოფილების საფარი თითოეული ტელეფონის უკანა მხარეს.
- Insert the batteries, observing the correct polarity (+ and - markings).
- შეცვალეთ ბატარეის განყოფილების საფარი.
- Place each handset in its respective charger cradle. The CHARGE light on the handset will illuminate, indicating proper charging.
- პირველად გამოყენებამდე ტელეფონები დატენვისთვის მინიმუმ 16 საათის განმავლობაში მიეცით.
4. ფიჭურ ტელეფონთან დაკავშირება
The Connect to Cell feature allows you to make and receive cellular calls using your cordless handsets. You can pair up to two cell phones or one cell phone and one Bluetooth headset.
- დარწმუნდით, რომ თქვენი მობილური ტელეფონის Bluetooth ჩართულია და მისი აღმოჩენა შესაძლებელია.
- On the VTECH handset, navigate to the Bluetooth menu.
- Select 'Pair New Device' and follow the on-screen prompts to search for and connect to your cell phone.
- მოთხოვნის შემთხვევაში დაადასტურეთ დაწყვილების კოდი ორივე მოწყობილობაზე.

Image: This image demonstrates the 'Connect to Cell' functionality, showing how the cordless phone integrates with mobile devices for call management.
5. Digital Answering System Setup
The system includes a digital answering machine with a voice guide to assist with setup.
- Access the Answering System menu on the handset or base unit.
- Follow the voice guide prompts to set the outgoing announcement, number of rings, and message alert tone.
- The system can record up to 22 minutes of messages, announcements, and memos.
ოპერაციული ინსტრუქციები
1. ზარების განხორციელება და მიღება
- ზარის გასაკეთებლად: დააჭირეთ მთავარი / ფლეში for a landline call or უჯრედი for a cellular call, then dial the number.
- ზარზე პასუხის გასაცემად: დააჭირეთ ნებისმიერ აკრეფის ღილაკს (0-9, #, *) ან მთავარი / ფლეში or უჯრედი როცა ტელეფონი რეკავს.
- ზარის დასასრულებლად: დააჭირეთ გამორთვა/გაუქმება ან ჩადეთ სმარტფონი დამტენში.
2. სპიკერფონის ფუნქცია
The handset features a full-duplex speakerphone, allowing both parties to speak and be heard simultaneously for natural conversations.
- ზარის დროს დააჭირეთ ღილაკს დინამიკი ღილაკი სპიკერფონის გასააქტიურებლად.
- დააჭირეთ დინამიკი again to switch back to the earpiece.
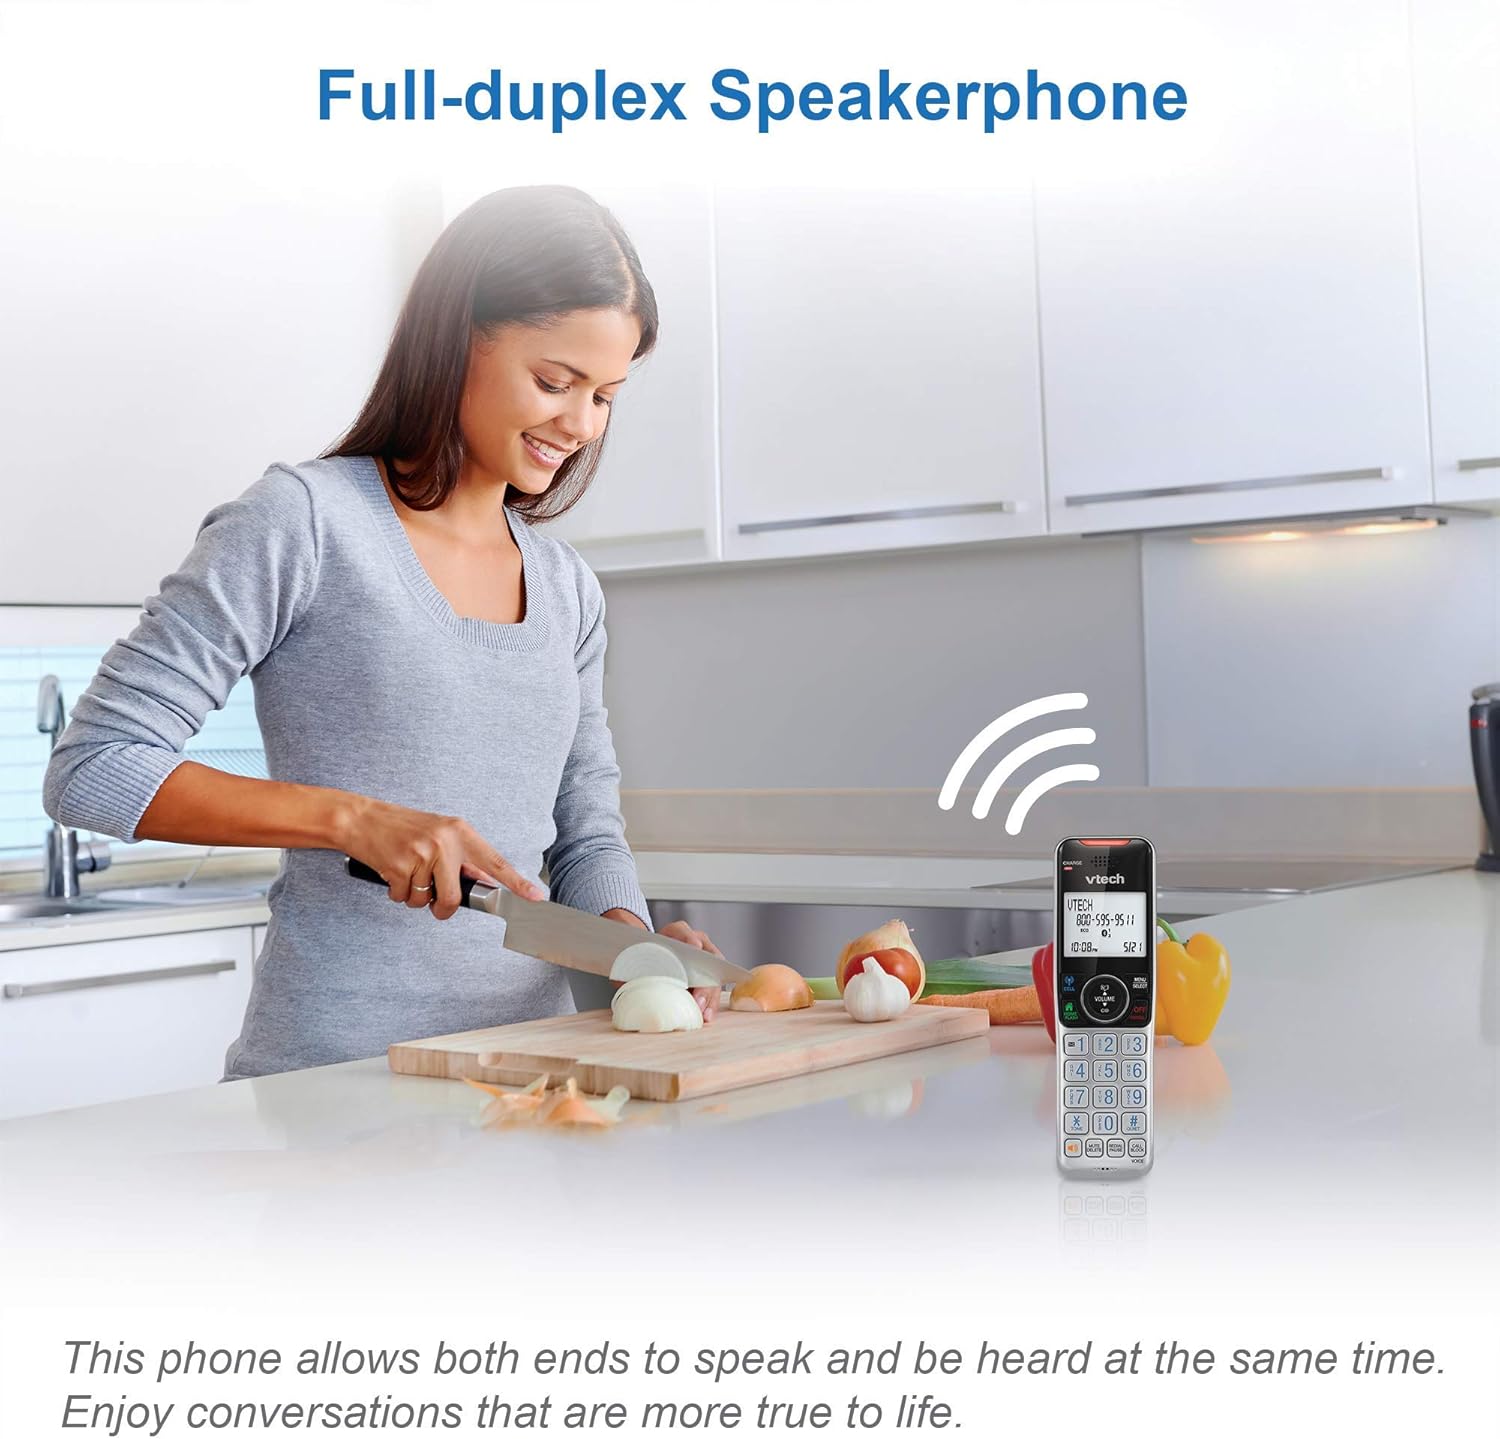
Image: This image illustrates the full-duplex speakerphone in use, showing a user engaged in a hands-free conversation.
3. ჭკვიანი ზარის ბლოკერი
This feature helps filter unwanted calls, including robocalls. It can block up to 1,000 numbers.
- ზარის დროს ნომრის დაბლოკვისთვის: დააჭირეთ დარეკეთ ბლოკზე.
- To block a number from Caller ID history: Navigate to the Caller ID log, select the number, and press დარეკეთ ბლოკზე.
- Robocall screening: დააყენეთ სისტემა ისე, რომ აბონენტებს სთხოვოთ ფუნტის ღილაკზე დაჭერა.
- Unknown caller screening: Set the system to ask callers to record their names and press the pound key. The phone will announce the caller's name, allowing you to choose to answer, block, or send to voicemail.

Image: This graphic represents the Smart Call Blocker feature, designed to prevent unwanted calls from ringing through.

Image: This image illustrates the capacity of the smart call block directory, capable of storing up to 1,000 names and numbers.
4. Digital Answering System Operation
The answering system records incoming messages when you are unavailable.
- შეტყობინებების დაკვრა: დააჭირეთ PLAY/STOP ბაზის მოწყობილობაზე ან ყურმილზე გადადით ავტომოპასუხეების მენიუში.
- Recording a memo: Access the Answering System menu and select 'Record Memo'.
- The LED message counter on the base unit displays the number of new messages.

Image: This image highlights the digital answering system, showing the message counter and a visual representation of a recorded message.
5. აბონენტის ID და ზარის ლოდინი
The phone stores up to 50 name and number caller ID records.
- When a call comes in, the caller's name and number will display on the handset screen (requires subscription to caller ID service).
- If you have call waiting service, a tone will indicate an incoming second call. Press FLASH ზარებს შორის გადართვა.

Image: This close-up shows the phone's screen displaying caller ID details, indicating an incoming call.
6. ინტერკომის ფუნქცია
Use the intercom feature to communicate between handsets.
- დააჭირეთ INT on one handset.
- The other handset will ring. Press any key to answer the intercom call.
7. Siri or Google Now Access
When connected to a cell phone via Bluetooth, you can access your smartphone's voice assistant.
- დააჭირეთ და გააჩერეთ უჯრედი button on the handset to activate Siri or Google Now.
- Speak your command into the handset.
8. Visual Ringer and Display
The handset features a visual ringer and a large, backlit display for enhanced usability.
- A light on top of the handset flashes during an incoming call, providing a visual alert, especially useful in noisy environments or for those with hearing impairments.
- The 2-inch high-contrast, white backlit display and enlarged, lighted keypad ensure easy readability and dialing in various lighting conditions.
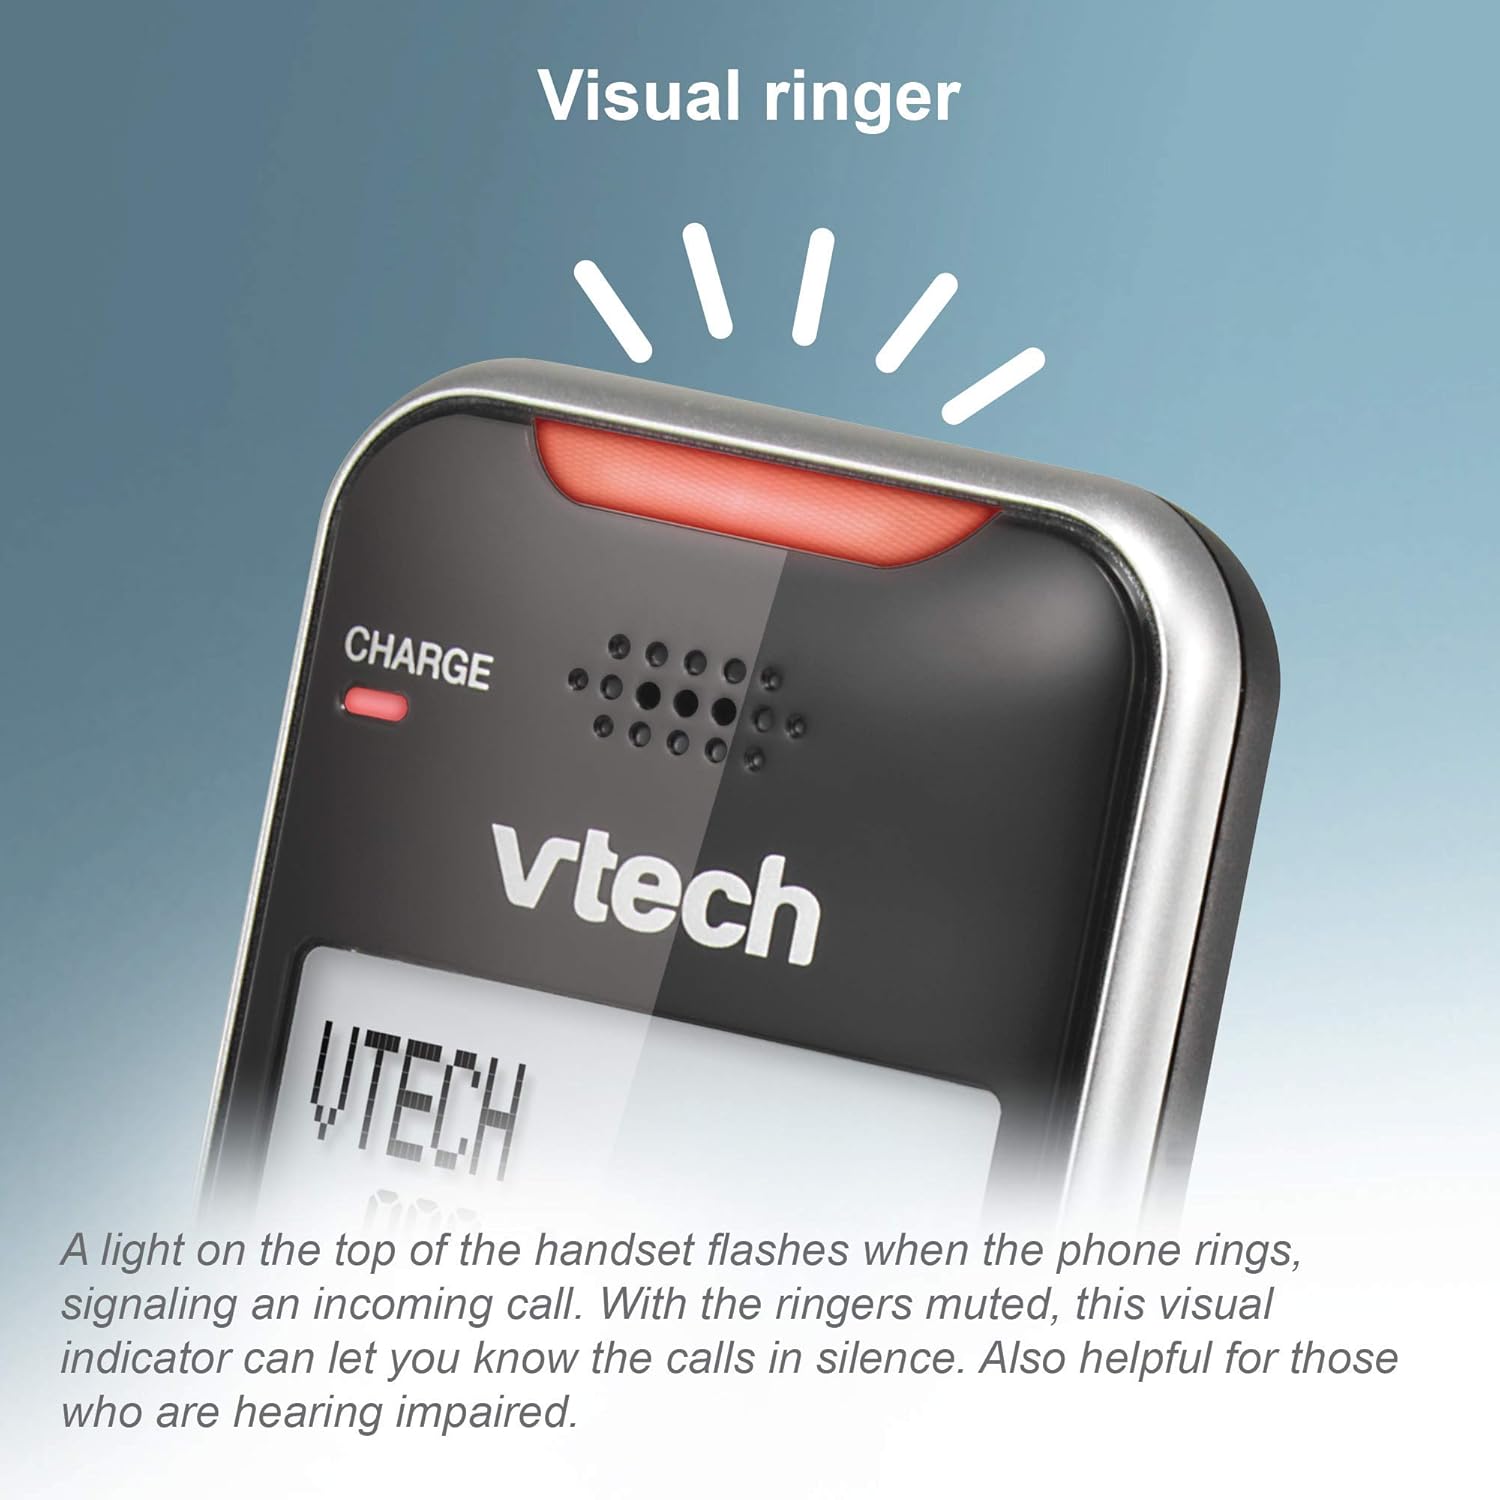
Image: This close-up shows the visual ringer, a light on the handset that flashes to signal an incoming call.

Image: This image highlights the large buttons and the 2-inch white backlit display of the handset, designed for improved visibility and ease of use.
მოვლა
1. ტელეფონის გაწმენდა
- გაწმინდეთ ტელეფონი და ბაზა რბილი, ოდნავ მშრალი ქსოვილით.amp ქსოვილი.
- Do not use cleaning sprays or liquid cleaners, as they may damage the finish or electrical components.
- Ensure the phone is unplugged from the power source before cleaning.
2. ბატარეის მოვლა
- To maintain optimal battery performance, keep the handsets in their chargers when not in use.
- If the phone will be unused for an extended period, remove the batteries to prevent leakage.
- Replace batteries when they no longer hold a charge effectively.
პრობლემების მოგვარება
If you experience issues with your phone, try the following troubleshooting steps:
არ არის აკრიფეთ ხმა
- დარწმუნდით, რომ ბაზისური მოწყობილობის კვების ადაპტერი საიმედოდ არის შეერთებული მოქმედ ელექტროგადამცემში.
- Verify the telephone line cord is properly connected to both the base unit and the wall jack.
- Check if other phones on the same line have a dial tone. If not, the issue may be with your telephone service.
ტელეფონი არ იტენება
- Ensure the handset is correctly seated in the charger cradle. The CHARGE light should illuminate.
- Clean the charging contacts on both the handset and the charger with a dry cloth.
- Verify the charger's power adapter is plugged into a working outlet.
Poor Call Quality or Static
- გადაიტანეთ სმარტფონი უფრო ახლოს საბაზო ერთეულთან.
- Avoid placing the base unit near large metal objects, other cordless phones, Wi-Fi routers, or microwave ovens.
- If using Connect to Cell, ensure your cell phone is within range of the base unit.
Call Blocking Not Working
- Ensure you have correctly added the numbers to the call block list.
- Verify that the Smart Call Blocker feature is enabled in the phone's settings.
- Note that some call blocking features may require a subscription to caller ID service from your telephone provider.
Answering System Issues
- დარწმუნდით, რომ ავტომოპასუხე ჩართულია.
- Check the memory capacity; if full, delete old messages.
- Verify the number of rings setting.
სპეციფიკაციები
| ბრენდი | VTech |
| მოდელი | VS112-2 |
| ტელეფონის ტიპი | უკაბელო |
| ტექნიკა | DECT 6.0, Bluetooth |
| ტელეფონების რაოდენობა | 2 |
| პასუხების სისტემის ტიპი | ციფრული |
| ავტომოპასუხეების ჩაწერის დრო | 22 წუთამდე |
| აბონენტის იდენტიფიკაცია | დიახ |
| Smart Call Blocker Capacity | 1,000 -მდე ნომერი |
| ჩვენება | 2-inch, high-contrast, white backlit |
| დენის წყარო | კაბელიანი ელექტრო |
| ბატარეები | საჭიროა 2 პროდუქტის სპეციფიკური ბატარეები (შედის) |
| პროდუქტის ზომები | 5.95 x 3.33 x 7.36 ინჩი |
| ნივთის წონა | 1.82 ფუნტი |
გარანტია და მხარდაჭერა
Amazon-ის განახლებული გარანტია
This product is offered as an Amazon Renewed item. Amazon Renewed products are professionally inspected and tested to work and look like new. If you are not satisfied with your purchase, renewed products are eligible for replacement or refund under the Amazon Renewed Guarantee.
მწარმოებლის მხარდაჭერა
For further assistance, technical support, or detailed warranty information beyond the Amazon Renewed Guarantee, please refer to the official VTech website or contact VTech customer service directly. Contact information can typically be found on the manufacturer's webადგილზე ან პროდუქტის ორიგინალ შეფუთვაში.


