1. შესავალი
The Sygonix SY-4504968 Digital Timer is designed for automated control of electrical devices, such as lighting, in homes or offices. This versatile timer offers 15 programmable configurations, including weekly settings, allowing for up to 20 switching times per day, totaling 140 switching points per week. It features automatic summer and winter time adjustment, a countdown function, and a random mode. The timer supports both flush and surface mounting.
Please read this manual thoroughly before installation and operation to ensure correct usage and to prevent damage.

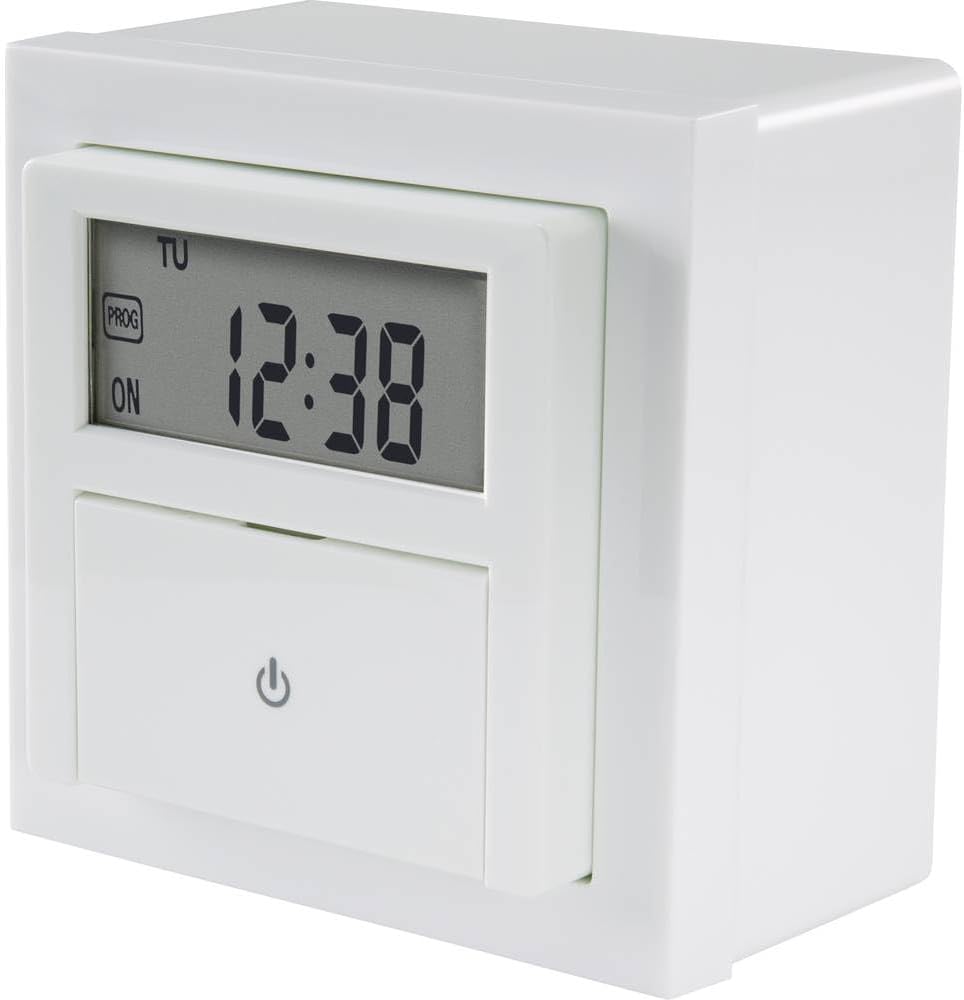
სურათი 1: წინა view of the Sygonix SY-4504968 Digital Built-in Timer, showing the digital display and the main power button.
2. უსაფრთხოების ინსტრუქციები
- მონტაჟი უნდა განხორციელდეს კვალიფიციური ელექტრიკოსის მიერ ადგილობრივი ელექტრო კოდებისა და რეგულაციების შესაბამისად.
- Ensure the power supply is disconnected before installation, maintenance, or any wiring work.
- The device requires a neutral wire for operation. Verify its presence in your electrical box.
- Do not exceed the maximum load capacity of 1800 W.
- არ დაუშვათ მოწყობილობის ნესტი, ექსტრემალური ტემპერატურა ან მზის პირდაპირი სხივები.
- არ სცადოთ მოწყობილობის დაშლა ან მოდიფიცირება. ყველა სახის მომსახურება მიმართეთ კვალიფიციურ პერსონალს.
3. პაკეტის შიგთავსი
დარწმუნდით, რომ შეფუთვაში ყველა ნივთია:
- Sygonix SY-4504968 Digital Built-in Timer
- Surface mount frame
- სამონტაჟო ხრახნები და კედლის სანთლები
- ინსტრუქციის სახელმძღვანელო
4. პროდუქტი დასრულდაview
The timer features a digital display and control buttons located behind a protective cover.

სურათი 2: ახლოდან view of the timer's digital display, showing time, day (TU for Tuesday), and 'PROG' and 'ON' indicators.

სურათი 3: The timer with its protective cover open, revealing the control buttons for programming and settings.
4.1. ჩვენების ინდიკატორები
- დროის ჩვენება: Shows current time in HH:MM format.
- დღის ინდიკატორი: Displays the current day of the week (e.g., MO, TU, WE).
- PROG: Indicates that a program is active or being set.
- ჩართვა/გამორთვა: Indicates the current switching state of the connected device.
4.2. Control Buttons (behind cover)
- Clock/Set Button: გამოიყენება მიმდინარე დროისა და დღის დასაყენებლად.
- PROG ღილაკი: გადადის პროგრამის პარამეტრების რეჟიმში.
- RND (Random) Button: Activates/deactivates random switching mode.
- CD (Countdown) Button: Activates/deactivates countdown function.
- +/- ღილაკები: Used to adjust values (time, program settings).
- R (Reset) Button: Resets the timer to factory defaults.
5. მონტაჟი
The timer can be installed either flush-mounted into a wall box or surface-mounted using the provided frame.
5.1. გაყვანილობის დიაგრამა
მნიშვნელოვანია: Ensure the main power supply is switched off before proceeding with any wiring. This device requires a neutral wire connection.
Connect the Live (L), Neutral (N), and Switched Live (L') wires according to the diagram provided with the product. The neutral wire is essential for the timer's internal clock and display to function.
5.2. Flush Mounting
- Prepare a standard wall box (minimum depth of 50mm recommended for easier wiring).
- Connect the electrical wires to the terminals on the back of the timer as per the wiring diagram.
- Carefully push the timer into the wall box, ensuring wires are not pinched.
- დაამაგრეთ ტაიმერი კედლის ყუთზე მოწოდებული ხრახნების გამოყენებით.
- Attach the front cover plate.

სურათი 4: The digital timer flush-mounted into a wall, blending with the room's decor.
5.3. Surface Mounting
- Attach the surface mount frame to the wall using the provided screws and wall plugs.
- Connect the electrical wires to the terminals on the back of the timer.
- Insert the timer into the surface mount frame, ensuring a secure fit.
- Attach the front cover plate.
სურათი 5: მხარე view of the timer, illustrating its depth for installation considerations.
6. დაყენება
6.1. Initial Power-On and Reset
After installation and restoring power, the display will light up. If the display is erratic or shows incorrect values, press the R (გადატვირთვა) button with a pointed object (e.g., a pen tip) to clear all settings and restore factory defaults.
6.2. მიმდინარე დროისა და დღის დაყენება
- Open the protective cover to access the control buttons.
- დააჭირეთ და გააჩერეთ Clock/Set button for approximately 3 seconds until the time display flashes.
- გამოიყენეთ +/- ღილაკები საათის დასარეგულირებლად. დააჭირეთ Clock/Set კიდევ ერთხელ დასადასტურებლად და წუთებზე გადასასვლელად.
- გამოიყენეთ +/- ღილაკები წუთების დასარეგულირებლად. დააჭირეთ Clock/Set again to confirm and move to day.
- გამოიყენეთ +/- buttons to select the current day of the week (MO, TU, WE, TH, FR, SA, SU).
- დააჭირეთ Clock/Set one last time to save the settings and exit the time setting mode.
6.3. Automatic Summer/Winter Time Adjustment
The timer is equipped with an automatic summer/winter time adjustment feature. This function typically activates automatically based on pre-programmed dates. No manual intervention is usually required for this feature.
7. მოქმედებს
7.1. ყოველკვირეული გრაფიკების დაპროგრამება
The timer allows for up to 15 different program configurations, with 20 switching times per day, totaling 140 switching points per week.
- დააჭირეთ პროგ button to enter program setting mode. The display will show '1 ON' (for program 1, switch-on time).
- გამოიყენეთ +/- buttons to set the desired switch-on hour. Press პროგ დასადასტურებლად და წუთებზე გადასასვლელად.
- გამოიყენეთ +/- buttons to set the desired switch-on minutes. Press პროგ to confirm and move to day selection.
- გამოიყენეთ +/- buttons to select the day(s) for this program. You can choose individual days, blocks of days (e.g., MO-FR), or all days. Press პროგ დასადასტურებლად.
- The display will now show '1 OFF' (for program 1, switch-off time). Repeat steps 2-4 to set the switch-off time and day(s) for this program.
- After setting the 'OFF' time, press პროგ again to move to the next program ('2 ON') or to exit program setting mode if no more programs are needed.
- To exit program mode at any time, press the Clock/Set ღილაკი.
7.2. უკუქცევის ფუნქცია
The countdown function allows you to set a specific duration after which the connected device will switch ON or OFF.
- დააჭირეთ CD (Countdown) button. The display will show 'CD' and a default countdown time.
- გამოიყენეთ +/- buttons to adjust the desired countdown duration (hours and minutes).
- დააჭირეთ CD again to start the countdown. The device will switch its state (ON to OFF, or OFF to ON) once the countdown finishes.
- ათვლის გასაუქმებლად დააჭირეთ ღილაკს CD button again during the countdown.
7.3. Random Mode
The random mode switches the connected device ON and OFF at irregular intervals, simulating presence for security purposes.
- დააჭირეთ RND (Random) button. The display will show 'RND'.
- The timer will now activate and deactivate the connected device at random times within a predefined period (e.g., 30 minutes to 2 hours).
- To deactivate random mode, press the RND button again. The 'RND' indicator will disappear.
8. მოვლა
- გაწმინდეთ მოწყობილობა რბილი, მშრალი ქსოვილით. არ გამოიყენოთ აბრაზიული საწმენდები ან გამხსნელები.
- The internal battery (if present for memory backup) is typically long-lasting and not user-replaceable. If the timer loses settings during power outages, the battery may need professional replacement.
9. Დიაგნოსტიკა
| პრობლემა | შესაძლო მიზეზი | გამოსავალი |
|---|---|---|
| ტაიმერის ჩვენება ცარიელია. | ელექტრომომარაგება არ არის; შიდა ბატარეა დაცლილია. | Check power connection. If power is present, the internal battery may need replacement (professional service recommended). |
| Timer does not switch connected device. | Incorrect wiring; program not activated; device faulty. | Verify wiring (especially neutral connection). Ensure programs are correctly set and activated. Test the connected device independently. |
| პარამეტრები იკარგება დენის გათიშვის შემდეგtage. | შიდა სარეზერვო ბატარეა დაცლილია. | The internal battery needs replacement. Contact customer support or a qualified technician. |
| Cannot set time/program. | Incorrect button sequence; device frozen. | Refer to the 'Setup' and 'Operating' sections. Press the R (გადატვირთვა) button to clear and try again. |
10. სპეციფიკაციები
- მოდელი: SY-4504968
- მწარმოებელი: სიგონიქსი
- ტtage: 230 ვოლტი
- მაქს. ჩატვირთვა: 1800 W
- პროდუქტის ზომები (L x W x H): 12 x 9 x 8 სმ
- წონა: 230 გრამი
- ჩვენების ტიპი: ციფრული
- პროგრამების რაოდენობა: 15
- Switching Points: Up to 140 per week (20 per day)
- საჭირო ბატარეები: Yes (for internal clock/memory backup, typically not user-replaceable)
11. გარანტია და მხარდაჭერა
Sygonix products are manufactured to high-quality standards. For warranty information, please refer to the warranty card included with your purchase or visit the official Sygonix website. For technical support, troubleshooting assistance, or spare parts, please contact your retailer or the Sygonix customer service department.


