შესავალი
This user manual provides comprehensive instructions for the installation, operation, and maintenance of your Thinkware X1000 Dual Channel Dash Cam. The X1000 is designed to record high-quality video footage from both the front and rear of your vehicle, offering enhanced security and peace of mind. Please read this manual thoroughly before using the device to ensure proper functionality and safety.
რა არის ყუთში
დარწმუნდით, რომ ყველა კომპონენტი შეფუთვაშია:
- 2K QHD Main Unit (Front Dash Cam)
- 2K QHD Rear Cam
- 32 GB MicroSD ბარათი
- გაყვანილობის კაბელი
- Windshield Mount with 3M Tape
- (Optional: GPS Antenna, 12V Power Cable, Adhesive Wire Clips, Spare Mounting Tape, CS Info - may vary by package)

Image: Components included with the Thinkware X1000 Dash Cam system.
პროდუქტი დასრულდაview
The Thinkware X1000 is a high-performance dual-channel dash cam system. Key features include:
- Dual 2K QHD Recording: იღებს მკაფიო და დეტალურ საკვებსtage from both front and rear cameras (2560 x 1440 resolution).
- Sony STARVIS IMX335 Sensor: Ensures sharp video quality even in low-light conditions.
- Night Vision 3.0 with Real DOL HDR: Advanced technology for improved visibility and color accuracy at night.
- 3.5" IPS Touchscreen: Provides live view, playback, and easy access to settings directly on the device.
- G-სენსორი: Automatically detects impacts and saves footage to a protected folder.
- ანტი-File კორუფცია: Safeguards recorded video fileარის microSD ბარათზე.
- Smart Parking Surveillance Suite: Includes motion and impact detection, Time Lapse, and Energy Saving 2.0 modes (requires hardwiring).
- Advanced Driver Assistance System (ADAS): Provides alerts for Lane Departure, Forward Collision, and Front Vehicle Departure (requires optional GPS antenna).

Image: The Thinkware X1000 Dash Cam system, showing the main unit, rear camera, and hardwiring cable.

სურათი: წინა ნაწილის ახლო ხედი view of the Thinkware X1000 main unit, highlighting the QHD recorder lens.
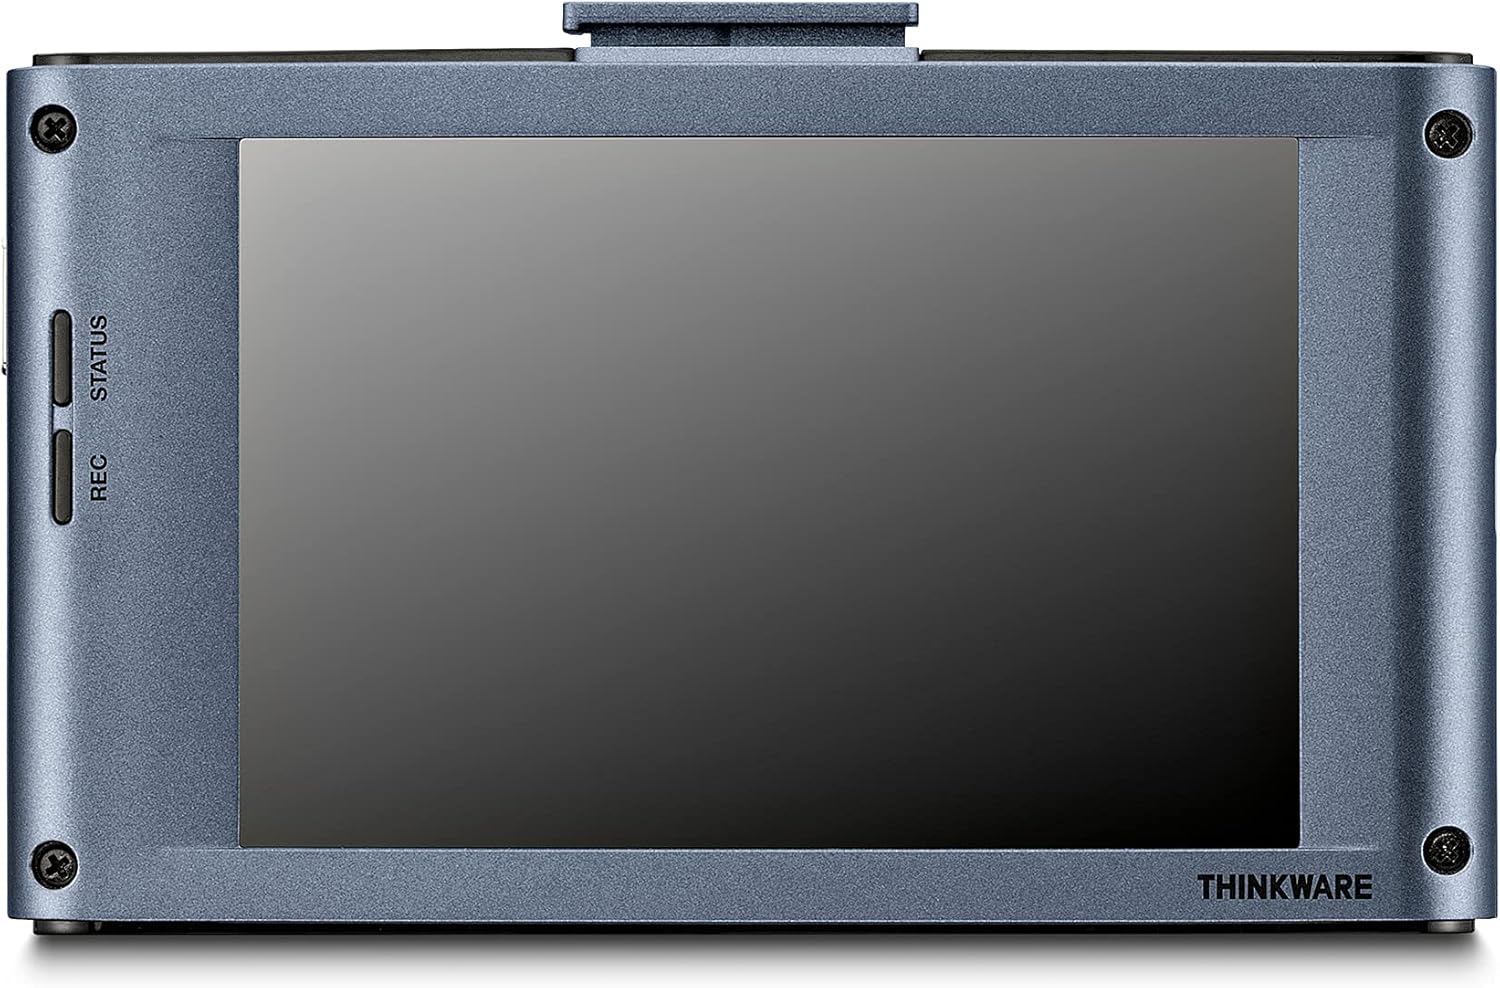
სურათი: უკანა view of the Thinkware X1000 main unit, displaying its 3.5-inch IPS touchscreen.
დაყენება და ინსტალაცია
1. Prepare the MicroSD Card
Before first use, it is recommended to format the included 32GB MicroSD card using the dash cam's menu or the Thinkware PC Viewer software. This ensures optimal performance and compatibility.
2. Mount the Front Dash Cam
- გაწმინდეთ საქარე მინის ის ადგილი, სადაც დაფის კამერა დამონტაჟდება. დარწმუნდით, რომ ის მტვრისა და ცხიმისგან თავისუფალია.
- Attach the 3M adhesive tape to the windshield mount.
- Peel off the protective film from the adhesive tape and firmly press the mount onto the windshield, ideally behind the rearview mirror for an unobstructed view. Hold for at least 30 seconds.
- Slide the main unit onto the mounted bracket.
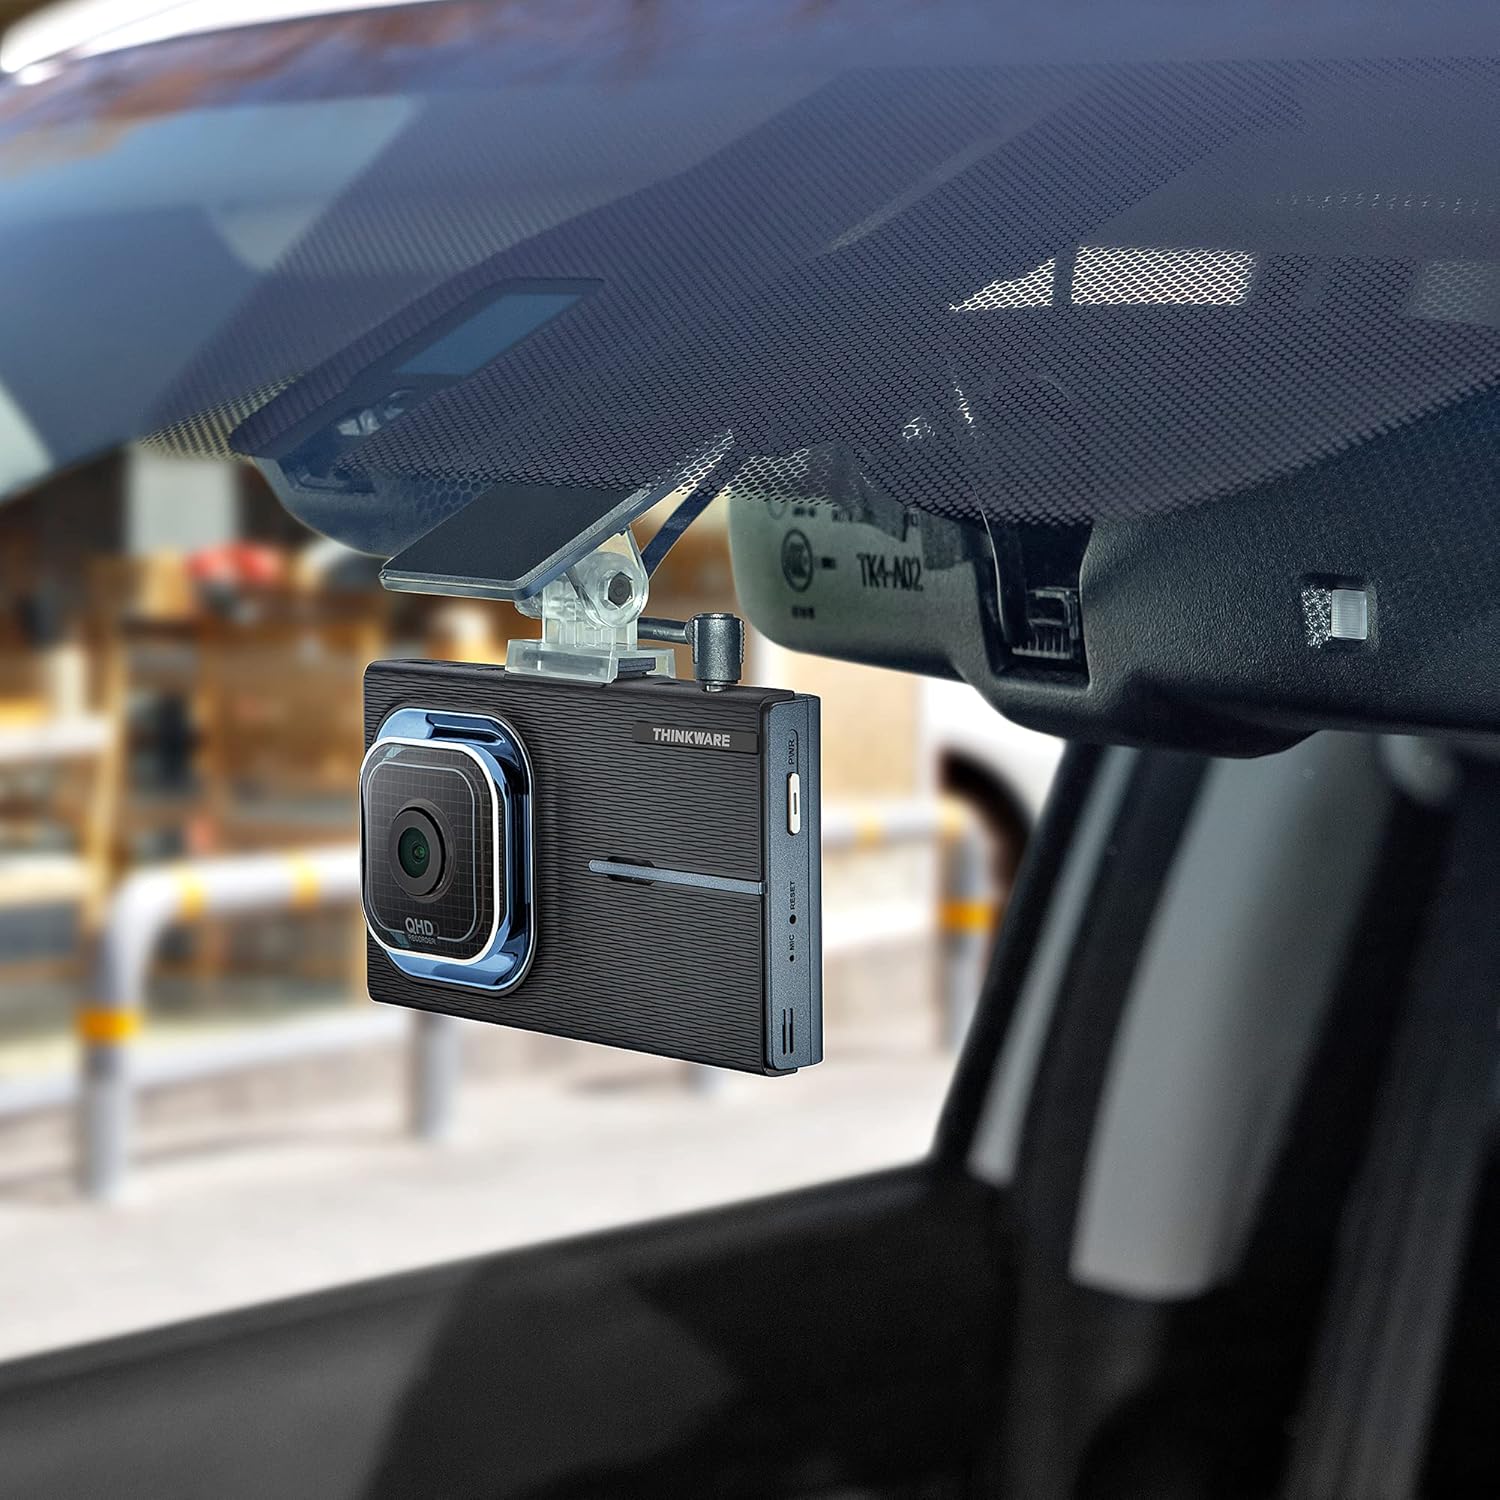
Image: The Thinkware X1000 main unit installed on a vehicle's windshield, positioned discreetly behind the rearview სარკე.

სურათი: ინტერიერი view of the Thinkware X1000 Dash Cam mounted on the windshield, displaying its screen.
3. დააინსტალირეთ უკანა კამერა
- უკანა საქარე მინაზე დაამონტაჟეთ უკანა კამერა, რათა უზრუნველყოთ მკაფიო ხედვა. view.
- Connect the rear camera cable to the rear camera and route it neatly along the vehicle's headliner and A-pillars to the main unit.
- Plug the rear camera cable into the appropriate port on the main unit (usually labeled "V-IN" or "REAR CAM").
4. Power Connection (Hardwiring)
The X1000 includes a hardwiring cable for continuous power and parking surveillance features. Professional installation is recommended for hardwiring.
- Connect the yellow wire (BATT) to a constant power fuse (always on).
- Connect the red wire (ACC) to an accessory power fuse (on when ignition is on).
- Connect the black wire (GND) to a metal ground point on the vehicle chassis.
- Plug the hardwiring cable into the DC-IN port on the main unit.
Alternatively, a 12V power cable (cigarette lighter adapter) can be used for basic recording, but parking surveillance features will not be available.

სურათი: ზედა view of the Thinkware X1000 main unit, illustrating the various connection ports for power, GPS, and the rear camera.
5. Optional GPS Antenna Installation
If you have the optional GPS antenna, connect it to the GPS port on the main unit. This enables speed logging, route tracking, and ADAS features.
ოპერაციული ინსტრუქციები
ჩართვა/გამორთვა
- The dash cam will automatically power on when the vehicle's ignition is turned on (if hardwired) or when connected to a 12V power source.
- To manually power off, press and hold the PWR button on the side of the unit.
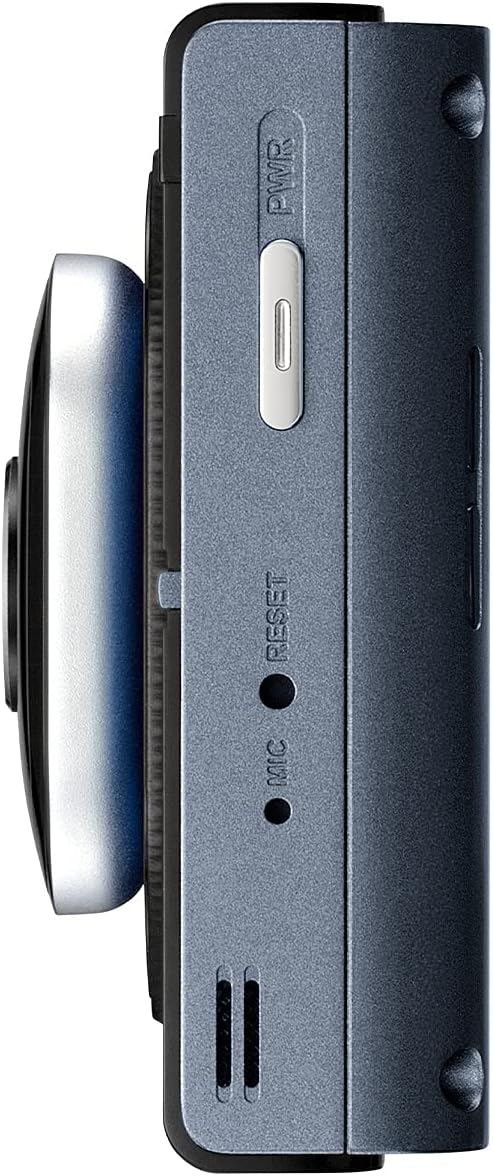
სურათი: გვერდი view of the Thinkware X1000 main unit, indicating the power button and reset pinhole.
ჩაწერის რეჟიმი
The X1000 supports various recording modes:
- უწყვეტი ჩაწერა: Records automatically when the vehicle is in operation. Footage is saved in 1-minute segments.
- ინციდენტის ჩაწერა: Triggered by the G-sensor upon impact. These files are saved in a separate, protected folder and are not overwritten by continuous recording.
- ხელით ჩაწერა: Press the REC button to manually initiate an event recording.
სენსორული ეკრანის გამოყენებით
The 3.5-inch IPS touchscreen allows for easy control:
- ცოცხალი View: აჩვენებს რეალურ დროში საჭმელსtage from the front and rear cameras.
- დაკვრა: Review recorded videos directly on the device. Navigate through folders (Continuous, Incident, Manual, Parking).
- პარამეტრები: Access and adjust various settings such as recording quality, G-sensor sensitivity, parking mode options, and ADAS settings.

Image: Visual comparison demonstrating the superior viewing angles of an IPS panel compared to a standard panel, as featured on the X1000's touchscreen.
პარკირების სათვალთვალო რეჟიმები
When hardwired, the X1000 offers advanced parking surveillance features to protect your vehicle while parked:
- მოძრაობის გამოვლენა: Records 20-second video clips when motion is detected around the vehicle.
- ზემოქმედების გამოვლენა: Records 20-second video clips when an impact is detected while parked.
- დროის გასვლის ჩაწერა: Records continuously at 2 frames per second, compressing hours of footagწუთებში.
- Energy Saving 2.0: Extends parking coverage by putting the dash cam into a low-power standby mode, waking up to record only when an impact is detected.

Image: Depiction of the dash cam's parking surveillance mode, showing motion detection in a parking environment.

Image: A battery indicator symbolizing the energy-saving feature of the parking surveillance mode, designed to extend recording time.
მძღოლის დახმარების გაფართოებული სისტემა (ADAS)
With the optional GPS antenna, the X1000 provides ADAS features to enhance driving safety:
- ზოლიდან გადასვლის გამაფრთხილებელი სისტემა (LDWS): გატყობინებთ, თუ თქვენი მანქანა ზოლიდან გადავა.
- Forward Collision Warning System (FCWS): Warns you of an impending collision with the vehicle ahead.
- Front Vehicle Departure Warning (FVDW): Notifies you when the vehicle in front starts to move from a standstill.

Image: A visual representation of the Advanced Driver Assistance System (ADAS) in action, showing alerts for lane departures and potential forward collisions.
მოვლა
- MicroSD ბარათის მენეჯმენტი: Regularly format the microSD card (e.g., once a month) to prevent data corruption and ensure optimal recording performance. The X1000 features Anti-File Corruption technology, but periodic formatting is still recommended.
- დასუფთავება: Use a soft, dry cloth to clean the dash cam lens and touchscreen. Avoid abrasive cleaners or solvents.
- Firmware განახლებები: Check the Thinkware webპერიოდულად ეწვიეთ საიტს პროგრამული უზრუნველყოფის განახლებების მისაღებად, რათა დარწმუნდეთ, რომ თქვენს ვიდეოკამერას აქვს უახლესი ფუნქციები და გამოსწორებული შეცდომები.

სურათი: გვერდი view of the Thinkware X1000 main unit, highlighting the microSD card slot for easy access and maintenance.

Image: A conceptual image representing the Anti-File Corruption technology, which protects recorded video files on the memory card from data loss.
პრობლემების მოგვარება
| პრობლემა | შესაძლო მიზეზი | გამოსავალი |
|---|---|---|
| ვიდეორეგისტრატორი არ ირთვება. | Loose power connection, vehicle power issue, faulty cable. | Check all power cable connections. Ensure vehicle's ignition is on if using ACC power. Test with a different power source if possible. |
| ჩაწერის შეჩერებები ან ფუtage დაზიანებულია. | MicroSD card error, card full, incompatible card, card wear. | Format the microSD card. Try a new, high-quality microSD card. Ensure the card is Class 10 or higher. |
| ეკრანი ცარიელია ან არ რეაგირებს. | პროგრამული უზრუნველყოფის გაუმართაობა, კვების პრობლემა. | Perform a soft reset using the reset pinhole (refer to side view image). Ensure stable power supply. |
| პარკირების რეჟიმი არ მუშაობს. | Not hardwired, incorrect hardwiring, low vehicle battery. | Ensure the dash cam is correctly hardwired to constant and accessory power. Check vehicle battery voltage. |
| ADAS features not active. | GPS antenna not connected or faulty, ADAS settings disabled. | Ensure the optional GPS antenna is securely connected. Enable ADAS features in the dash cam settings. |
სპეციფიკაციები
| ფუნქცია | დეტალი |
|---|---|
| მოდელის სახელი | TW-X1000D32H |
| პროდუქტის ზომები | 3.9 x 0.9 x 1.3 ინჩი |
| ნივთის წონა | 1.25 ფუნტი |
| ვიდეო გადაღების გარჩევადობა | Front: 2K QHD (2560x1440p), Rear: 2K QHD (2560x1440p) |
| სფერო View | 156 გრადუსი (ფართო კუთხე) |
| სენსორი | Sony STARVIS IMX335 |
| ჩვენება | 3.5 ინჩის IPS სენსორული ეკრანი |
| დაკავშირების ტექნოლოგია | USB (კომპიუტერთან დასაკავშირებლად) |
| განსაკუთრებული თვისებები | Night Vision 3.0, Real DOL HDR, G-Sensor, Anti-File Corruption, Smart Parking Surveillance Suite (Motion/Impact Detection, Time Lapse, Energy Saving 2.0), ADAS (LDWS, FCWS, FVDW - with optional GPS) |
| მოყვება კომპონენტები | Main Unit, Rear Cam, 32GB MicroSD Card, Hardwiring Cable, Windshield Mount with 3M Tape |
| სამონტაჟო ტიპი | წებოვანი მთა |
| ფერი | შავი |
უსაფრთხოების ინფორმაცია
- არ დაამონტაჟოთ ვიდეოდაფის კამერა ისეთ ადგილას, რომელიც მძღოლს ხელს უშლის view ან ხელს უშლის აირბალიშის გახსნას.
- Ensure all cables are routed safely and do not interfere with vehicle controls.
- მოერიდეთ მოწყობილობის ექსტრემალურ ტემპერატურაზე, მზის პირდაპირ სხივებზე ხანგრძლივი პერიოდის განმავლობაში ან ჭარბ ტენიანობაზე მოთავსებას.
- არ სცადოთ მოწყობილობის დაშლა ან მოდიფიცირება. ეს გააუქმებს გარანტიას და შეიძლება გამოიწვიოს დაზიანება.
- Use only genuine Thinkware accessories and power cables.
გარანტია და მხარდაჭერა
For warranty information and technical support, please refer to the documentation included with your product or visit the official THINKWARE webსაიტი. თქვენ ასევე შეგიძლიათ ეწვიოთ THINKWARE Store on Amazon დამატებითი რესურსებისა და საკონტაქტო ინფორმაციისთვის.
The product is sold by THINKWARE USA, ensuring official support channels are available.


