1. შესავალი
This manual provides essential information for the safe and efficient operation of your Reloop RP-7000 MK2 Direct Drive High Torque Turntable. Please read these instructions thoroughly before using the product to ensure proper setup, optimal performance, and longevity of your equipment. Keep this manual for future reference.
2. უსაფრთხოების ინსტრუქციები
- ელექტრომომარაგება: მოწყობილობა მხოლოდ მითითებული სიმძლავრის ცვლადი დენის წყაროსთან შეაერთეთ.tagე. დარწმუნდით, რომ კვების კაბელი არ არის დაზიანებული ან მოჭერილი.
- ტენიანობა: Do not expose the unit to rain, moisture, or excessive humidity. Avoid placing liquid-filled objects on the turntable.
- ვენტილაცია: უზრუნველყავით მოწყობილობის გარშემო საკმარისი ვენტილაცია. არ დაბლოკოთ ვენტილაციის ღიობები.
- განთავსება: Place the turntable on a stable, level surface away from direct sunlight, heat sources, and strong magnetic fields.
- დასუფთავება: გაწმენდის წინ გამორთეთ დენი. გამოიყენეთ რბილი, მშრალი ქსოვილი. მოერიდეთ თხევადი საწმენდი საშუალებების ან გამხსნელების გამოყენებას.
- მომსახურება: ნუ ეცდებით მოწყობილობის დამოუკიდებლად მომსახურებას. ყველა სახის მომსახურება კვალიფიციურ პერსონალს მიანდეთ.
3. პაკეტის შიგთავსი
Verify that all items listed below are included in your package. If any items are missing or damaged, contact your dealer immediately.
- Reloop RP-7000 MK2 Direct Drive High Torque Turntable (x2)
- მტვრის საფარი (x2)
- Digital Turntable Stylus Scale
- Record Care Solution
- დენის კაბელი
- RCA Cable
- სახმელეთო მავთული
- სლიპმატი
- საპირისპირო წონა
- Headshell with Cartridge (pre-mounted or separate, depending on region/bundle)

სურათი 1: დასრულდაview of the Reloop RP-7000 MK2 turntable bundle components.
4. დაყენება
4.1 შეფუთვა და განთავსება
- ფრთხილად ამოიღეთ ყველა კომპონენტი შეფუთვიდან. შეინახეთ შეფუთვა მომავალი ტრანსპორტირებისთვის.
- Place the turntable on a flat, stable, and vibration-free surface. Ensure there is enough space for the dust cover to open fully.
- Attach the dust cover by aligning its hinges with the slots on the turntable's rear.

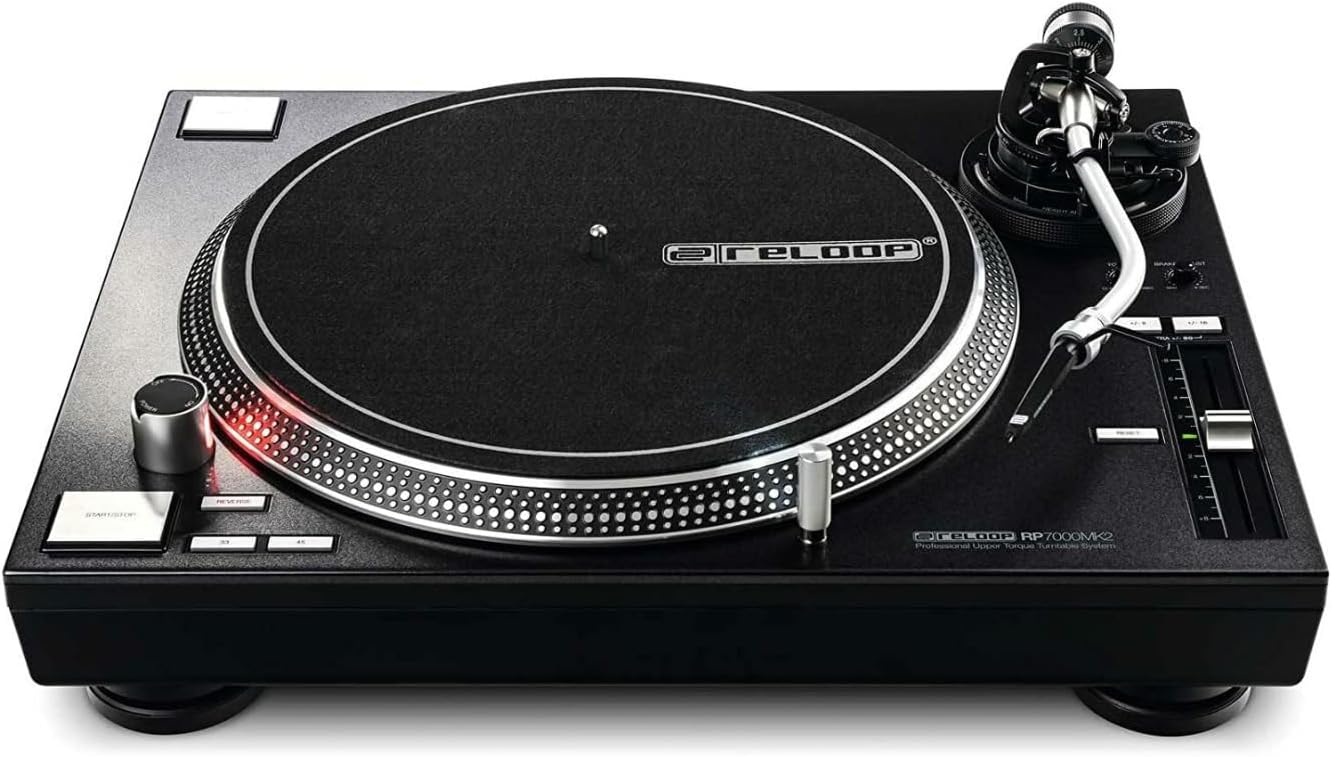
სურათი 2: Turntable with the dust cover in place.
4.2 Platter and Slipmat Installation
- Carefully place the platter onto the center spindle. Ensure it sits flush.
- თეფშის თავზე დადეთ ხალიჩა.
4.3 Tonearm and Cartridge Setup
- If not pre-mounted, attach the headshell with the cartridge to the tonearm. Secure it by turning the locking ring.
- Screw the counterweight onto the rear of the tonearm.
- Balance the Tonearm: გაათავისუფლეთ tonarm clamp. Adjust the counterweight until the tonearm is perfectly balanced and floats horizontally.
- თვალთვალის ძალის დაყენება: Return the tonearm to its rest and clamp it. Rotate the numbered ring on the counterweight to '0' without moving the counterweight itself. Then, rotate the entire counterweight to the recommended tracking force for your cartridge (typically 2-4 grams for DJ cartridges).
- Set Anti-Skate: Adjust the anti-skate dial to match the tracking force setting.
4.4 Using the Digital Stylus Scale
The included digital stylus scale allows for precise measurement of your cartridge's tracking force, ensuring optimal sound quality and minimizing record wear.
- Place the stylus scale on the platter.
- ჩართეთ სასწორი დენის ღილაკის გამოყენებით.
- Carefully lower the stylus onto the designated measuring point on the scale.
- Read the tracking force displayed. Adjust the tonearm's counterweight as needed until the desired force is achieved.

სურათი 3: Digital Stylus Scale for precise tracking force measurement.
4.5 კავშირები
- აუდიო გამომავალი: Connect the RCA cables from the turntable's audio output to the PHONO input of your mixer or amplifier. If your mixer/amplifier does not have a PHONO input, you will need an external phono preampმაცოცხლებელი.
- მიწის მავთული: Connect the ground wire from the turntable to the ground terminal on your mixer or ampგამაფხვიერებელი ხმაურის შესამცირებლად.
- სიმძლავრე: Connect the power cable to the turntable and then to a suitable AC power outlet.
5. საოპერაციო ინსტრუქციები
5.1 ძირითადი დაკვრა
- Place a record on the slipmat.
- Select the appropriate speed (33, 45, or 78 RPM) using the speed selector buttons.
- დააჭირეთ START/STOP button to begin platter rotation.
- Carefully lift the tonearm using the cueing lever and position the stylus over the desired groove on the record.
- Lower the cueing lever to gently place the stylus onto the record.
- To stop playback, lift the tonearm using the cueing lever, return it to the tonearm rest, and press the START/STOP ღილაკი.
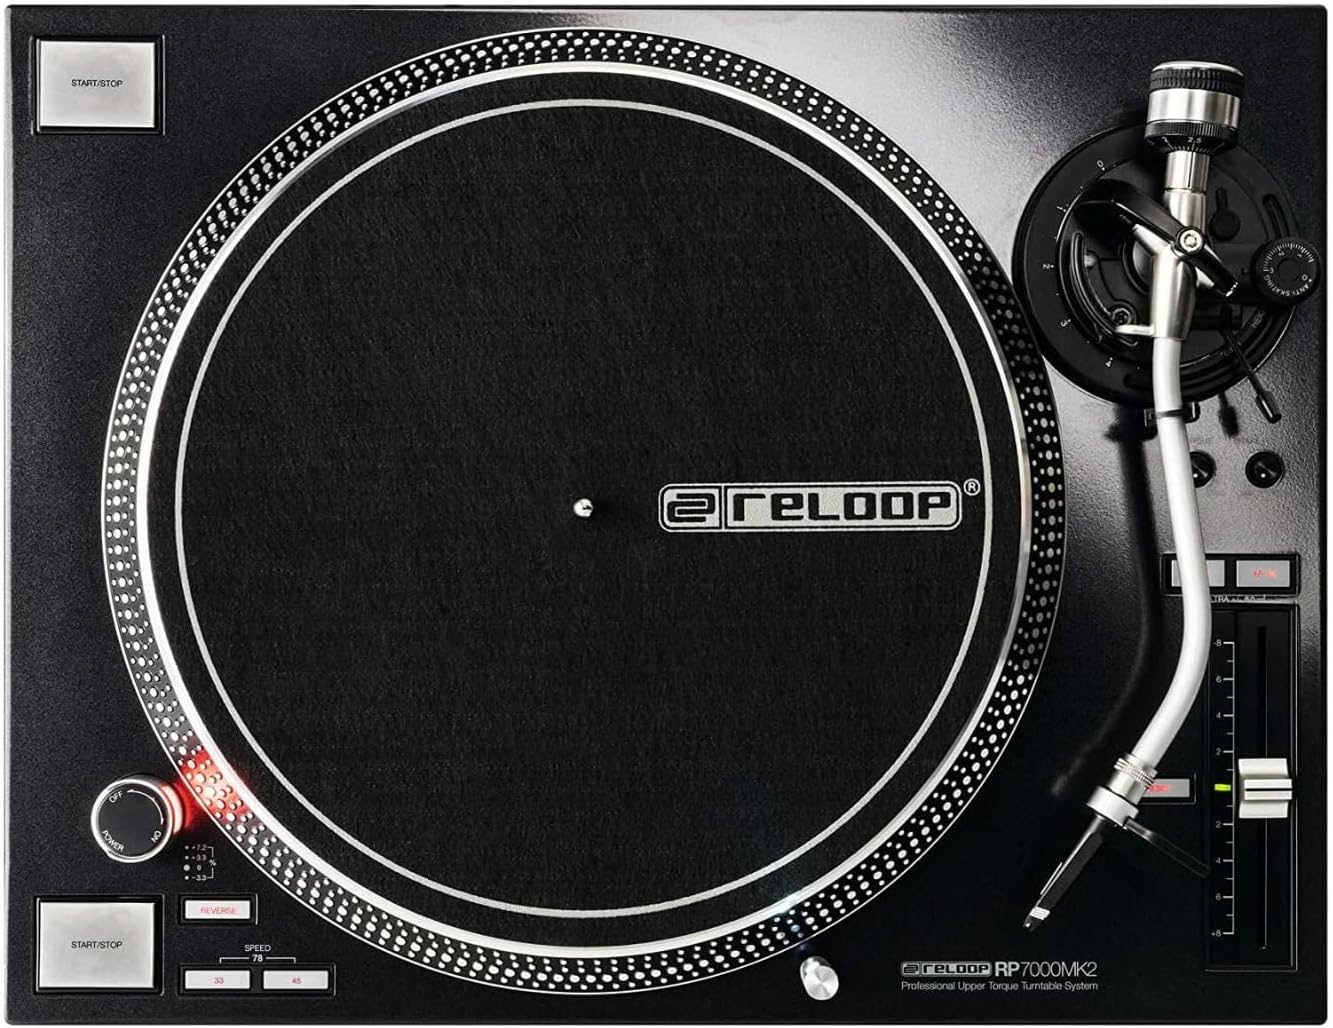
სურათი 4: Turntable platter and control layout.
5.2 Pitch Control
The pitch fader allows you to adjust the playback speed (BPM) of the record. Move the fader up or down to increase or decrease the pitch. The pitch range can be selected using the range buttons (e.g., +/- 8%, 16%, 50%).
5.3 უკუ ფუნქცია
The RP-7000 MK2 features a reverse playback function. Press the უკუ button to change the direction of platter rotation. Press it again to return to normal playback.
6. მოვლა
6.1 მბრუნავი დისკის გაწმენდა
- გაწმენდის წინ ყოველთვის გამორთეთ დენი.
- Use a soft, dry, lint-free cloth to wipe the surface of the turntable and dust cover.
- მოერიდეთ აბრაზიული საწმენდების, გამხსნელების ან ქიმიური სპრეის გამოყენებას, რადგან მათ შეუძლიათ დააზიანონ საფარი.
6.2 სტილუსის მოვლა
- Gently brush the stylus from back to front using a soft stylus brush to remove dust and debris.
- მოერიდეთ სტილუსს თითებით შეხებას.
6.3 ჩანაწერების მოვლა
The included record care solution helps maintain the quality of your vinyl records and prolong their lifespan.
- Apply a small amount of record care solution to a clean, soft, lint-free cloth or a dedicated record cleaning brush.
- Gently wipe the record surface in a circular motion, following the grooves.
- Allow the record to dry completely before playing.
სურათი 5: Record Care Solution for maintaining vinyl quality.
7. Დიაგნოსტიკა
| პრობლემა | შესაძლო მიზეზი | გამოსავალი |
|---|---|---|
| არავითარი ძალა | Power cable not connected; outlet not active | Check power cable connection; test outlet with another device |
| არ არის ხმა ან დაბალი ხმა | RCA cables incorrect; no PHONO input; amplifier/mixer settings | Ensure RCA cables are connected to PHONO input; check amplifier/mixer input selection and volume |
| გუგუნის ხმაური | Ground wire not connected; interference | Connect ground wire; move turntable away from other electronic devices |
| გამოტოვებული ან დამახინჯებული ხმა | Incorrect tracking force; dirty stylus/record; damaged stylus | Adjust tracking force using stylus scale; clean stylus and record; replace stylus if damaged |
| თეფში არ ტრიალებს | START/STOP button not pressed; motor issue | Press START/STOP; if problem persists, contact support |
8. სპეციფიკაციები
| ფუნქცია | დეტალი |
|---|---|
| მოდელის სახელი | RP-7000 MK2 |
| ბრენდი | Reloop |
| ძრავის ტიპი | Direct Drive DC Motor |
| სპეციალური ფუნქცია | მაღალი ბრუნვის მომენტი |
| პროდუქტის ზომები | 27.9 x 20 x 18.6 ინჩი |
| მასალა | მეტალი |
| ფერი | შავი |
| თავსებადი მოწყობილობები | Speaker, Headphone, Personal Computer, MP3 Player, Laptop |
| სიგნალის ფორმატი | ციფრული |
9. გარანტია და მხარდაჭერა
Reloop products are designed for reliability and performance. For warranty information, please refer to the warranty card included with your product or visit the official Reloop website. For technical support or service inquiries, please contact your authorized Reloop dealer or distributor.
მწარმოებელი: Reloop
პირველი ხელმისაწვდომი თარიღი: 8 წლის 2022 ივლისი


