შესავალი
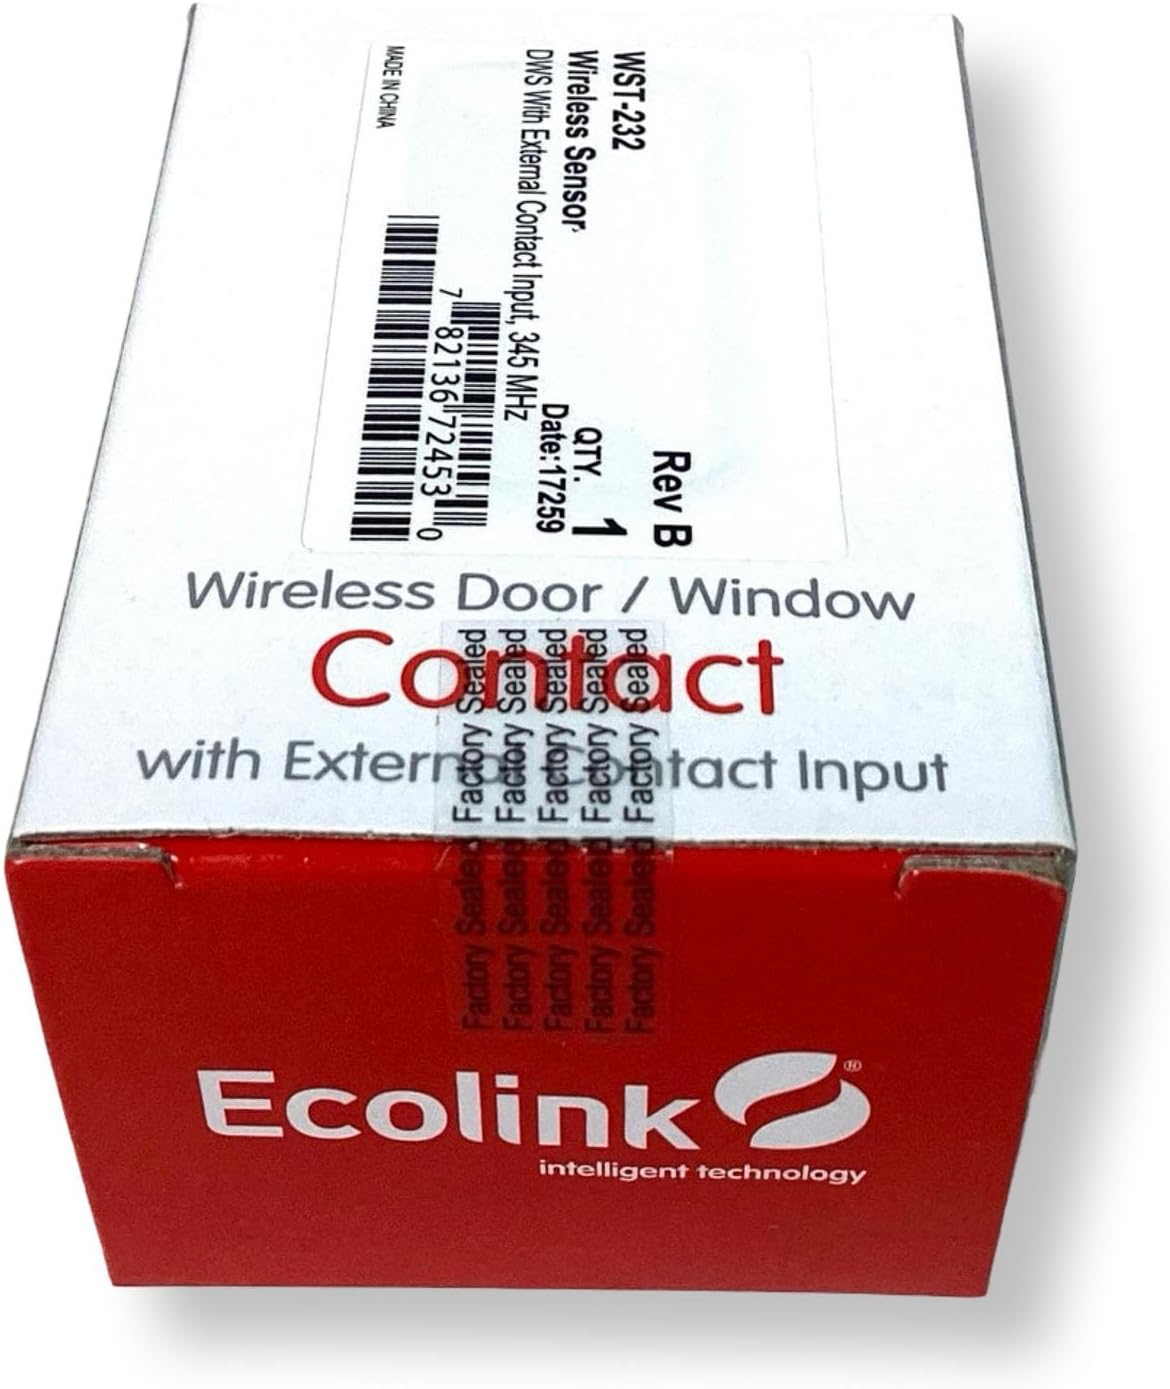
This manual provides comprehensive instructions for the installation, operation, and maintenance of your Ecolink WST-232 Wireless Home Security Door Window Sensor. This device is designed to enhance the security of your home by detecting the opening and closing of doors and windows. It is compatible with Honeywell 5800 Wireless and 2GIG security systems.
უსაფრთხოების მნიშვნელოვანი ინფორმაცია
- ინსტალაციამდე და გამოყენებამდე ყურადღებით წაიკითხეთ ყველა ინსტრუქცია.
- Do not attempt to repair or modify the sensor. Refer all servicing to qualified personnel.
- შეინახეთ ბატარეები ბავშვებისთვის მიუწვდომელ ადგილას. გამოყენებული ბატარეები სათანადოდ გადააგდეთ ადგილობრივი რეგულაციების შესაბამისად.
- Ensure the sensor is installed in a location where it will not be exposed to extreme temperatures or moisture.
პაკეტის შიგთავსი
დარწმუნდით, რომ შეფუთვაში ყველა ნივთია:
- Ecolink WST-232 Wireless Door/Window Sensor (Main Unit)
- Magnet (for contact detection)
- Mounting Hardware (screws, adhesive tape)
- Interchangeable Brown Case
- მომხმარებლის სახელმძღვანელო (ეს დოკუმენტი)
პროდუქტი დასრულდაview
The Ecolink WST-232 is a compact wireless sensor designed for monitoring the open/closed status of doors and windows. It features an internal reed switch for standard magnetic contact detection and an external contact input for connecting wired devices.

სურათი: Ecolink WST-232 Wireless Door/Window Sensor showing the main unit and the external contact wires.
ძირითადი კომპონენტები:
- Main Sensor Unit: Contains the battery, wireless transmitter, and internal reed switch.
- მაგნიტი: Triggers the internal reed switch when separated from the main unit.
- External Contact Input: Two wires (typically red and black) for connecting an external wired contact.
- ბატარეის განყოფილება: Located on the back of the main unit.
დაყენება და ინსტალაცია
1. ბატარეის მონტაჟი
- გახსენით სენსორი casing by gently prying it open from the side notch.
- Insert the CR2032 lithium battery, ensuring the positive (+) side faces up.
- დახურეთ სენსორი casinგ უსაფრთხოდ.
2. Enrolling the Sensor with Your Security Panel
The WST-232 sensor is compatible with Honeywell 5800 Wireless and 2GIG security systems. Refer to your security panel's manual for specific enrollment procedures. General steps are as follows:
- Put your security panel into programming mode for adding new wireless zones.
- Activate the sensor by separating the magnet from the main unit, or by connecting/disconnecting the external contact wires. This sends a signal to the panel.
- Confirm the sensor's serial number is learned by the panel.
- Assign the sensor to an appropriate zone type (e.g., "Entry/Exit," "Perimeter").
- Exit programming mode on your panel.
3. სენსორის დამონტაჟება
Choose a suitable location on your door or window frame. The sensor and magnet should be mounted within 0.5 inches (1.27 cm) of each other when the door/window is closed.
სურათი: Ecolink WST-232 sensor components including the main unit, magnet, and mounting screws.
ხრახნების გამოყენება:
- Position the main sensor unit on the stationary frame and the magnet on the moving part (door/window).
- მონიშნეთ ხრახნიანი ხვრელები.
- საჭიროების შემთხვევაში გაბურღეთ საპილოტე ხვრელები.
- Secure both the sensor and magnet with the provided screws.
Using Adhesive Tape (not recommended for long-term security):
- საფუძვლიანად გაწმინდეთ სამონტაჟო ზედაპირები.
- Apply adhesive tape to the back of the sensor and magnet.
- Press firmly onto the desired surfaces for at least 30 seconds.
4. External Contact Input
The WST-232 includes an external contact input for integrating other wired devices, such as recessed door contacts or pressure mats. Connect the two wires from your external device to the red and black wires of the WST-232 sensor. The sensor will transmit a signal when the external contact opens or closes.
Operating the Sensor
Once installed and enrolled, the Ecolink WST-232 sensor operates automatically. When the door or window it is monitoring opens, separating the magnet from the main unit (or opening the external contact), the sensor will transmit a signal to your security panel. This signal indicates an "open" state. When the door or window closes, bringing the magnet back into proximity (or closing the external contact), the sensor transmits a "closed" state signal.
Your security panel will then react according to its programming (e.g., trigger an alarm if the system is armed, log the event).
მოვლა
ბატარეის გამოცვლა
The sensor uses one CR2032 lithium battery. When the battery level is low, your security panel will typically display a low battery warning for the corresponding zone. To replace the battery:
- Put your security panel into disarm or test mode to prevent false alarms.
- ფრთხილად გახსენით სენსორი casing.
- ამოიღეთ ძველი CR2032 ბატარეა.
- Insert a new CR2032 battery, ensuring correct polarity (+ side up).
- დახურეთ სენსორი casinგ უსაფრთხოდ.
- Test the sensor to ensure it communicates with the panel.
დასუფთავება
Clean the sensor and magnet with a soft, dry cloth. Do not use liquid cleaners or abrasive materials, as these can damage the device.
პრობლემების მოგვარება
| პრობლემა | შესაძლო მიზეზი | გამოსავალი |
|---|---|---|
| Sensor not enrolling with panel. | Incorrect panel programming mode; sensor not activated; battery low/dead. | Ensure panel is in correct enrollment mode. Activate sensor multiple times. Replace battery. Check panel manual for specific steps. |
| Sensor not detecting open/close. | Magnet too far from sensor; incorrect mounting; dead battery. | Verify magnet is within 0.5 inches of the sensor. Re-mount if necessary. Replace battery. |
| External contact not working. | Incorrect wiring; faulty external device. | Check wiring connections to the WST-232. Test the external device independently. |
| Low battery warning on panel. | ბატარეა ვადას უახლოვდება. | Replace the CR2032 battery as soon as possible. |
სპეციფიკაციები
- მოდელი: WST-232
- თავსებადობა: Honeywell 5800 Wireless, 2GIG
- ზომები: 3 x 1.7 x 1 ინჩი (დაახლოებით)
- ბატარეა: 1 x CR2032 Lithium Coin Cell
- ოპერაციული სიხშირე: 345 MHz
- მწარმოებელი: Ecolink Intelligent Technology Inc
- UPC: 657479755391
გარანტია და ტექნიკური მხარდაჭერა
For warranty information and technical assistance, please refer to the official Ecolink webსაიტზე ან პირდაპირ დაუკავშირდით მათ მომხმარებელთა მხარდაჭერის სამსახურს. შეინახეთ თქვენი შესყიდვის ქვითარი შეძენის დასადასტურებლად.
ეკოლინკი Webსაიტი: www.ecolink.com


