1. შესავალი
This manual provides detailed instructions for the safe and effective use of your OLIGHT RN 2000 and RN 1500 bicycle headlights. Please read this manual thoroughly before operating the devices and retain it for future reference. These lights are designed to enhance visibility and safety during cycling, offering powerful illumination for various riding conditions.
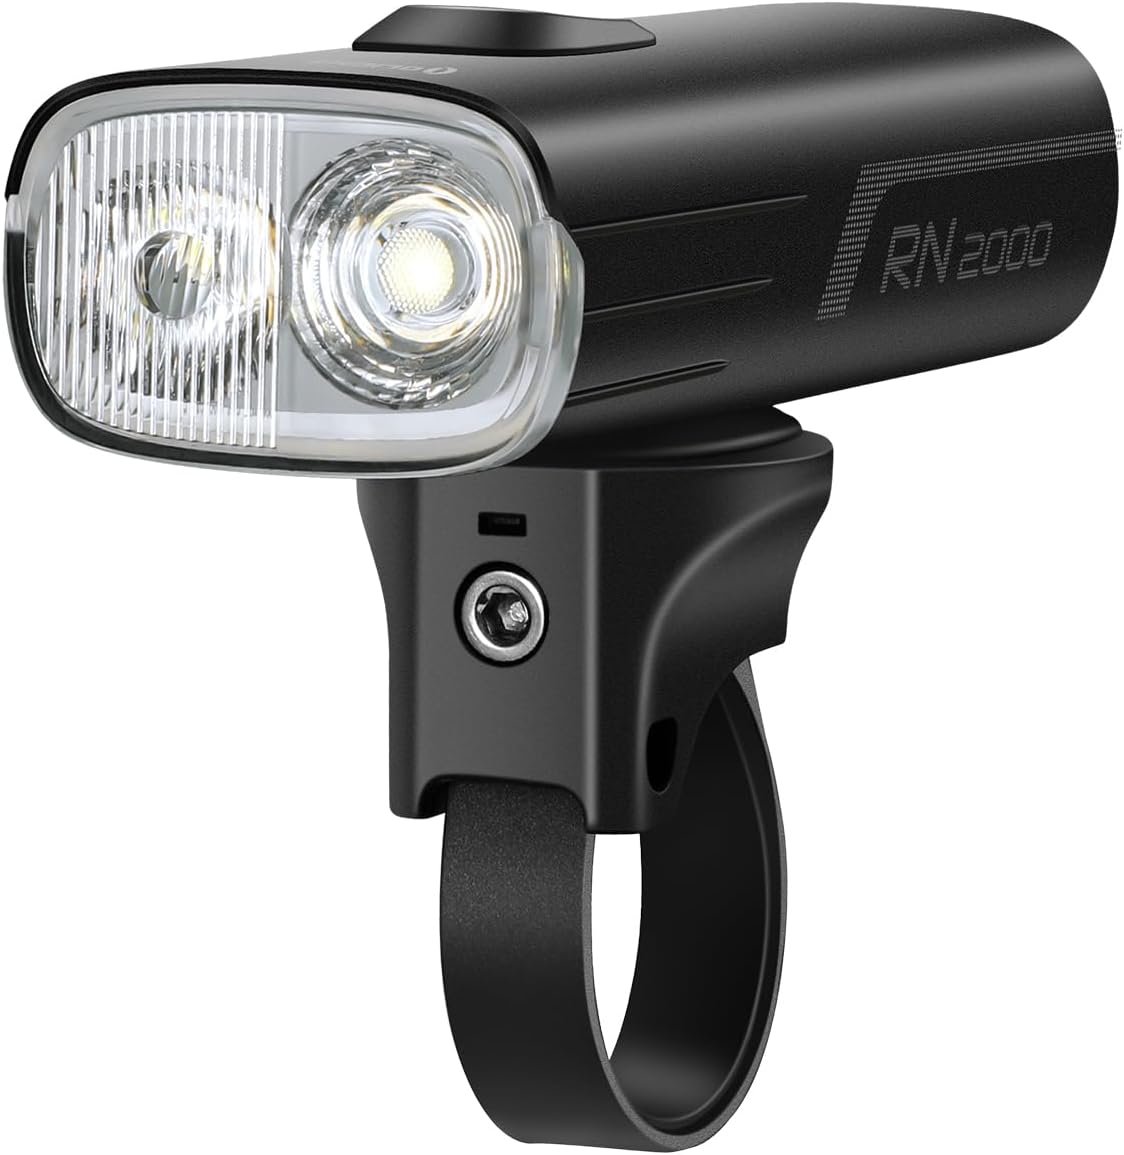
Image 1.1: The OLIGHT RN 2000 Bicycle Headlight, showcasing its dual LED design and handlebar mount.

Image 1.2: The OLIGHT RN 1500 Bicycle Headlight, featuring its compact design and integrated button.
2. დაყენება
2.1 განათების მონტაჟი
Both the RN 2000 and RN 1500 are designed for secure handlebar mounting.
RN 2000 Mounting:
The RN 2000 utilizes a GM quarter-turn mounting system. Attach the mount securely to your handlebar. Once the mount is in place, align the light with the mount and twist it a quarter turn until it locks into position. Ensure the light is firmly attached before riding.
RN 1500 Mounting:
The RN 1500 comes with a standard handlebar mount. Secure the mount to your handlebar using the provided strap or clamp. Slide the RN 1500 onto the mount until it clicks into place. Verify stability before use.
2.2 Initial Unlock (RN 1500 Only)
The RN 1500 features a built-in locking function to prevent accidental activation. Before first use, or if the light does not turn on, you must unlock it.
- ხანგრძლივად დააჭირეთ ჩართვის ღილაკს 3 წამის განმავლობაში.
- The LED indicator will flash from red to green, indicating the light is unlocked.
- Once unlocked, the light can be turned on and off normally.

Image 2.1: Visual guide for unlocking the RN 1500 by holding the button for 3 seconds until the indicator turns green.
2.3 დატენვა
Both lights are equipped with a USB-C charging port. Connect the provided USB-C cable to the light and to a USB power source (e.g., wall adapter, computer, power bank). The indicator light will show charging status. A full charge is recommended before initial use.
- RN 2000: Features integrated USB-C charging and discharging, allowing it to power other devices.
- RN 1500: Charges via USB-C.
3. საოპერაციო ინსტრუქციები
3.1 OLIGHT RN 2000 Operation
The RN 2000 offers multiple lighting modes and smart features for optimal visibility.
ჩართვა/გამორთვა და რეჟიმის გადართვა:
- Press and hold the main button to turn the light on or off.
- Short press the button to cycle through different brightness levels within the current mode (Floodlight, Hybrid, Flash).
- Double-click the button to switch between Floodlight, Hybrid, and Flash modes.
Double Lens System:
The RN 2000 features a double lens system providing both a broad floodlight beam and a far-reaching spotlight beam. The Hybrid mode combines these for comprehensive coverage.

Image 3.1: Close-up of the RN 2000's dual LED setup, illustrating the two high-power LEDs for varied beam patterns.
დისტანციური მართვა:
The included wireless remote control allows for convenient operation without removing your hands from the handlebars.
- Use the remote to turn the light on/off and switch modes.
- A dedicated button on the remote can instantly activate full output mode for maximum visibility when needed.
ჭკვიანი სენსორები:
- სინათლის სენსორი: Automatically adjusts brightness based on ambient light conditions, increasing output in darker environments (e.g., entering a tunnel).
- ვიბრაციის სენსორი: Conserves power by reducing output or entering standby mode when no movement is detected, reactivating when motion resumes.
RN 2000 Lighting Modes:

Image 3.2: Table detailing the 8 lighting modes of the RN 2000, including Floodlight, Hybrid, and Flash options with corresponding lumen outputs and runtimes.
3.2 OLIGHT RN 1500 Operation
The RN 1500 provides reliable illumination with simple controls.
ჩართვა/გამორთვა და რეჟიმის გადართვა:
- Press and hold the button to turn the light on or off (after unlocking, if applicable).
- Click the button to change the brightness level.
- Double-click to switch between steady and flash modes.
RN 1500 Lighting Modes:

სურათი 3.3: დასრულდაview of the 5 lighting modes for the RN 1500, including Low, Mid, High, Flash 1, and Flash 2, with their respective lumen outputs and runtimes.
4. მოვლა
4.1 დასუფთავება
Regularly clean the lens and body of your bike lights with a soft, damp cloth. Avoid using abrasive cleaners or solvents that could damage the finish or optical components.
4.2 დატენვის საუკეთესო პრაქტიკა
- Charge the lights fully before long periods of storage.
- Recharge the battery at least once every 3-6 months to maintain battery health, even if not in use.
- დატენვისთვის გამოიყენეთ მხოლოდ მოწოდებული USB-C კაბელი ან მისი სერტიფიცირებული ეკვივალენტი.
4.3 შენახვა
Store the lights in a cool, dry place away from direct sunlight and extreme temperatures. Ensure the lights are turned off before storage to prevent accidental discharge.
5. Დიაგნოსტიკა
5.1 RN 1500 Not Turning On
If your RN 1500 does not turn on, it may be in locked mode. Refer to Section 2.2 "Initial Unlock (RN 1500 Only)" for instructions on how to unlock the device.
5.2 Light Not Charging
- Ensure the USB-C cable is securely connected to both the light and the power source.
- გაუმართავი აქსესუარების გამოსარიცხად სცადეთ სხვა USB-C კაბელი ან კვების ადაპტერი.
- შეამოწმეთ დამტენის პორტი ნებისმიერი ნამსხვრევებისთვის, რამაც შეიძლება ხელი შეუშალოს კავშირს.
5.3 Reduced Runtime or Brightness
- დარწმუნდით, რომ ბატარეა სრულად დატენულია.
- Battery performance can degrade over time with extensive use.
- Extreme cold temperatures can temporarily reduce battery efficiency.
5.4 Remote Control Not Responding (RN 2000)
- Ensure the remote control's battery is not depleted.
- Verify that the remote is properly paired with the RN 2000. Refer to the specific pairing instructions if available in the product packaging.
- დარწმუნდით, რომ დისტანციურ მართვასა და განათებას შორის არანაირი დაბრკოლება არ არის.
6. სპეციფიკაციები
6.1 OLIGHT RN 2000 Specifications

Image 6.1: Infographic detailing key specifications of the RN 2000, including max output, runtime, throw, waterproof rating, and physical dimensions.
| ფუნქცია | დეტალი |
|---|---|
| მაქსიმალური გამომავალი | 2000 ლუმენი |
| მაქსიმალური სროლა | 170 მეტრი (557 ფუტი) |
| მაქსიმალური გაშვების დრო | 17.5 საათი |
| წყლის წინააღმდეგობა | IPX6 (წყალგამძლე) |
| მასალა | ალუმინის |
| დენის წყარო | ინტეგრირებული მრავალჯერადი დატენვის ბატარეა |
| სამონტაჟო ტიპი | Handlebar Mount (GM Quarter-Turn) |
| განსაკუთრებული თვისებები | Dual LED, Double Optics, Wireless Remote Control, Light Sensor, Vibration Sensor, USB-C Charging/Discharging |
6.2 OLIGHT RN 1500 Specifications

Image 6.2: Infographic displaying key specifications for the RN 1500, including max output, runtime, range, waterproof rating, and drop test information.
| ფუნქცია | დეტალი |
|---|---|
| მაქსიმალური გამომავალი | 1500 ლუმენი |
| მაქს დიაპაზონი | 164 მეტრი |
| მაქსიმალური გაშვების დრო | 12.5 საათი |
| წყლის წინააღმდეგობა | IPX7 (წყალგამძლე) |
| მასალა | ალუმინის |
| დენის წყარო | მრავალჯერადი დატენვის ბატარეა |
| სამონტაჟო ტიპი | სახელურის მთა |
| განსაკუთრებული თვისებები | Side lighting for visibility, Locking function |
7. გარანტია და მხარდაჭერა
7.1 ინფორმაცია გარანტიის შესახებ
OLIGHT products are backed by a comprehensive warranty. The OLIGHT RN 2000 and RN 1500 bicycle headlights come with a სიცოცხლის გარანტია, ensuring peace of mind regarding manufacturing defects and quality issues. Please refer to the official OLIGHT website or your product packaging for full warranty terms and conditions.

Image 7.1: Graphic indicating OLIGHT's Lifetime Warranty for their products.
7.2 მომხმარებელთა მხარდაჭერა
For technical assistance, warranty claims, or any questions regarding your OLIGHT products, please contact OLIGHT customer support through their official webსაიტზე ან თქვენი პროდუქტის შეფუთვაში მოცემულ საკონტაქტო ინფორმაციაზე.
ოფიციალური Webსაიტი: www.olightworld.com