შესავალი
This manual provides essential instructions for the setup, operation, and maintenance of your new Vibox VI-124 PC Gamer system. This system includes an AMD Ryzen 3 3200GE processor with integrated Radeon Vega 8 graphics, 16GB RAM, a 2TB HDD, and a pre-installed Linux Mint operating system. It also comes with a 22-inch monitor, RGB keyboard, RGB mouse, and a gaming headset. Please read this manual carefully before using your system to ensure optimal performance and longevity.
1. დაყენება
1.1 შეფუთვა
Carefully remove all components from their packaging. Ensure all items listed in the "What's in the Box" section are present:
- PC Tower
- 22 დიუმიანი მონიტორი
- RGB სათამაშო კლავიატურა
- RGB სათამაშო მაუსი
- სათამაშო ყურსასმენი
- კვების კაბელები (კომპიუტერისა და მონიტორისთვის)
- Video Cable (VGA/DVI-D)
- Wi-Fi ადაპტერი
1.2 კომპონენტების დაკავშირება
- Place the PC Tower: Position the PC tower on a stable, flat surface with adequate ventilation.
- მონიტორის დაკავშირება:
- Connect one end of the video cable (VGA or DVI-D) to the corresponding port on the back of the PC.
- Connect the other end of the video cable to the monitor.
- მონიტორის კვების კაბელი შეაერთეთ მონიტორთან, შემდეგ კი დენის წყაროსთან.
- პერიფერიული მოწყობილობების დაკავშირება:
- Connect the RGB Gaming Keyboard and RGB Gaming Mouse to available USB ports on the PC.
- Connect the Gaming Headset to the audio input/output jacks on the PC (usually green for audio out, pink for microphone in).
- Connect Wi-Fi Adapter: Insert the USB Wi-Fi adapter into an available USB port.
- დაკავშირება ძალა: Connect the PC's power cable to the power supply unit on the back of the PC, then plug it into a power outlet.

Image: Front panel ports for connecting USB devices and audio peripherals.

Image: The Vibox VI-124 PC tower, illustrating its design and internal components.
1.3 საწყისი ჩატვირთვა
Press the power button on the front of the PC tower. The system will boot into the pre-installed Linux Mint operating system. Follow any on-screen prompts for initial setup, such as language selection and user account creation.
2. საოპერაციო ინსტრუქციები
2.1 ჩართვა/გამორთვა
- ჩართვა: Press the power button on the front of the PC tower.
- გამორთვა: In Linux Mint, click the "Menu" button (usually in the bottom-left corner), then select "Shut Down" or "Power Off". Do not simply unplug the PC while it is running.
- გადატვირთვა: In Linux Mint, click the "Menu" button, then select "Restart".
2.2 Wi-Fi-თან დაკავშირება
Once the Wi-Fi adapter is connected, Linux Mint should automatically detect it. Click on the network icon in the system tray (usually top-right or bottom-right of the screen), select your Wi-Fi network, enter the password, and connect.
2.3 Using Peripherals
- კლავიატურა და მაუსი: These are plug-and-play devices. They should function immediately upon connection. RGB lighting effects may be controlled via dedicated software or buttons on the devices themselves, if available.
- ყურსასმენი: Ensure the headset is properly plugged into the audio jacks. You may need to select the headset as the default audio output/input device in Linux Mint's sound settings.
3. მოვლა
3.1 დასუფთავება
- ექსტერიერი: Use a soft, dry cloth to wipe down the exterior of the PC tower, monitor, keyboard, and mouse. For stubborn marks, a slightly damp შეგიძლიათ გამოიყენოთ ქსოვილი, მაგრამ დარწმუნდით, რომ სითხე არ მოხვდება მოწყობილობაში.
- ვენტილაცია: Periodically clean dust from the PC's ventilation grilles and fans using compressed air. Ensure the PC is powered off and unplugged before cleaning.
- მონიტორის ეკრანი: Use a microfiber cloth specifically designed for electronics screens. Do not use harsh chemicals.
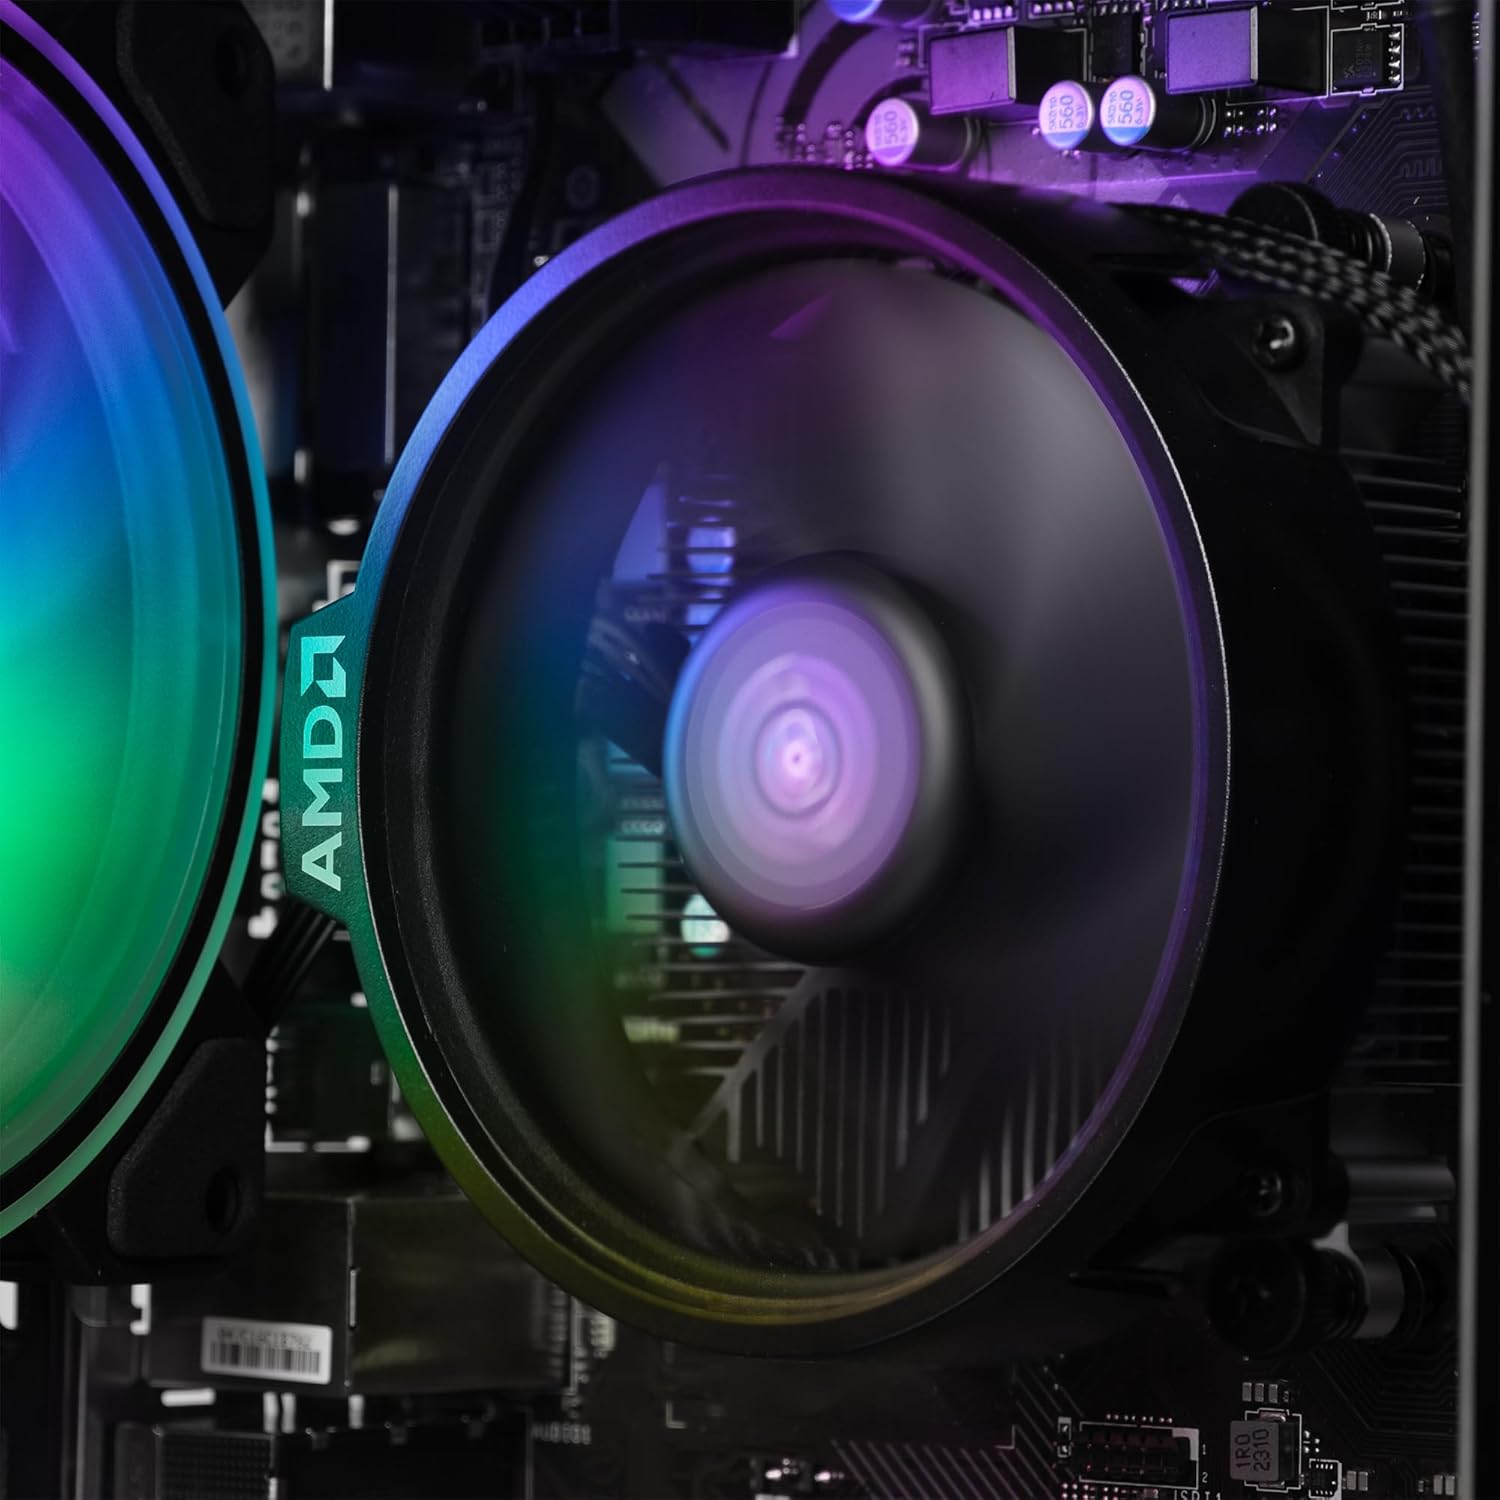
სურათი: შიდა view of the CPU fan, highlighting the importance of keeping internal components dust-free.
3.2 პროგრამული უზრუნველყოფის განახლებები
Regularly update your Linux Mint operating system and installed software to ensure security and optimal performance. Use the built-in Update Manager in Linux Mint to check for and install updates.
3.3 მონაცემთა სარეზერვო
მონაცემების დაკარგვის თავიდან ასაცილებლად, რეკომენდებულია თქვენი მნიშვნელოვანი მონაცემების რეგულარული სარეზერვო ასლის შექმნა გარე დისკზე ან ღრუბლოვან საცავში.
4. Დიაგნოსტიკა
| პრობლემა | შესაძლო გამოსავალი |
|---|---|
| არ არის ძალა |
|
| მონიტორზე ჩვენება არ არის |
|
| არ არის ინტერნეტ კავშირი |
|
| კლავიატურა/მაუსი არ რეაგირებს |
|
5. სპეციფიკაციები
| კომპონენტი | დეტალი |
|---|---|
| ბრენდი | VIBOX |
| მოდელის ნომერი | VBX-PC-6-124-AFR |
| პროცესორი | AMD Ryzen 3 3200GE Quad Core (3.6 GHz, up to 4.0 GHz Turbo) |
| გრაფიკა | Integrated Radeon Vega 8 Graphics (2GB DDR4 SDRAM) |
| ოპერატიული მეხსიერება | 16 GB DDR4 3200MHz High Speed (Dual-Channel) |
| შენახვა | 2 TB HDD (SATA-III 6.0 Gbit/s / 7200rpm) |
| ოპერაციული სისტემა | Linux Mint OS |
| მონიტორი | 22" 1080p (FullHD 1920x1080 / 5ms Response / LED Backlight / 1x DVI-D / 1x VGA Ports) |
| დაკავშირება | Wi-Fi (300Mbps Wireless Adapter) |
| ზომები (L x W x H) | 32.6 x 19.5 x 42 სმ |
6. ინფორმაცია გარანტიის შესახებ
Your Vibox VI-124 PC Gamer system comes with a Vibox Evolution Lifetime Warranty. This warranty covers manufacturing defects and hardware failures under normal use. For specific terms and conditions, please refer to the warranty documentation included with your product or visit the official Vibox webსაიტი. შეინახეთ შეძენის დამადასტურებელი საბუთი გარანტიის მოთხოვნისთვის.
7. მომხმარებელთა მხარდაჭერა
If you encounter any issues or have questions not covered in this manual, please contact Vibox customer support. You can find contact information on the official Vibox website or through your retailer. When contacting support, please have your product model number (VBX-PC-6-124-AFR) and proof of purchase ready.
დამატებითი ინფორმაციისთვის შეგიძლიათ ეწვიოთ VIBOX Store on Amazon.